Simple Small Master Bedroom Remodel First Floor, Part 4
Welcome back! This is the final installment of our first floor renovation series, focusing on the simple yet impactful transformation of our small master bedroom. For those just joining in, I encourage you to start from the beginning with parts one, two, and three, which explored the challenges we faced in creating a better home layout, the process of demolishing old and beautifying new, and the stunning results achieved in our bathroom renovation.
With the newly revamped bathroom now complete, we’re ready to reveal how its reframed wall affects the adjacent master bedroom and closet.
Closet Door + Hallway
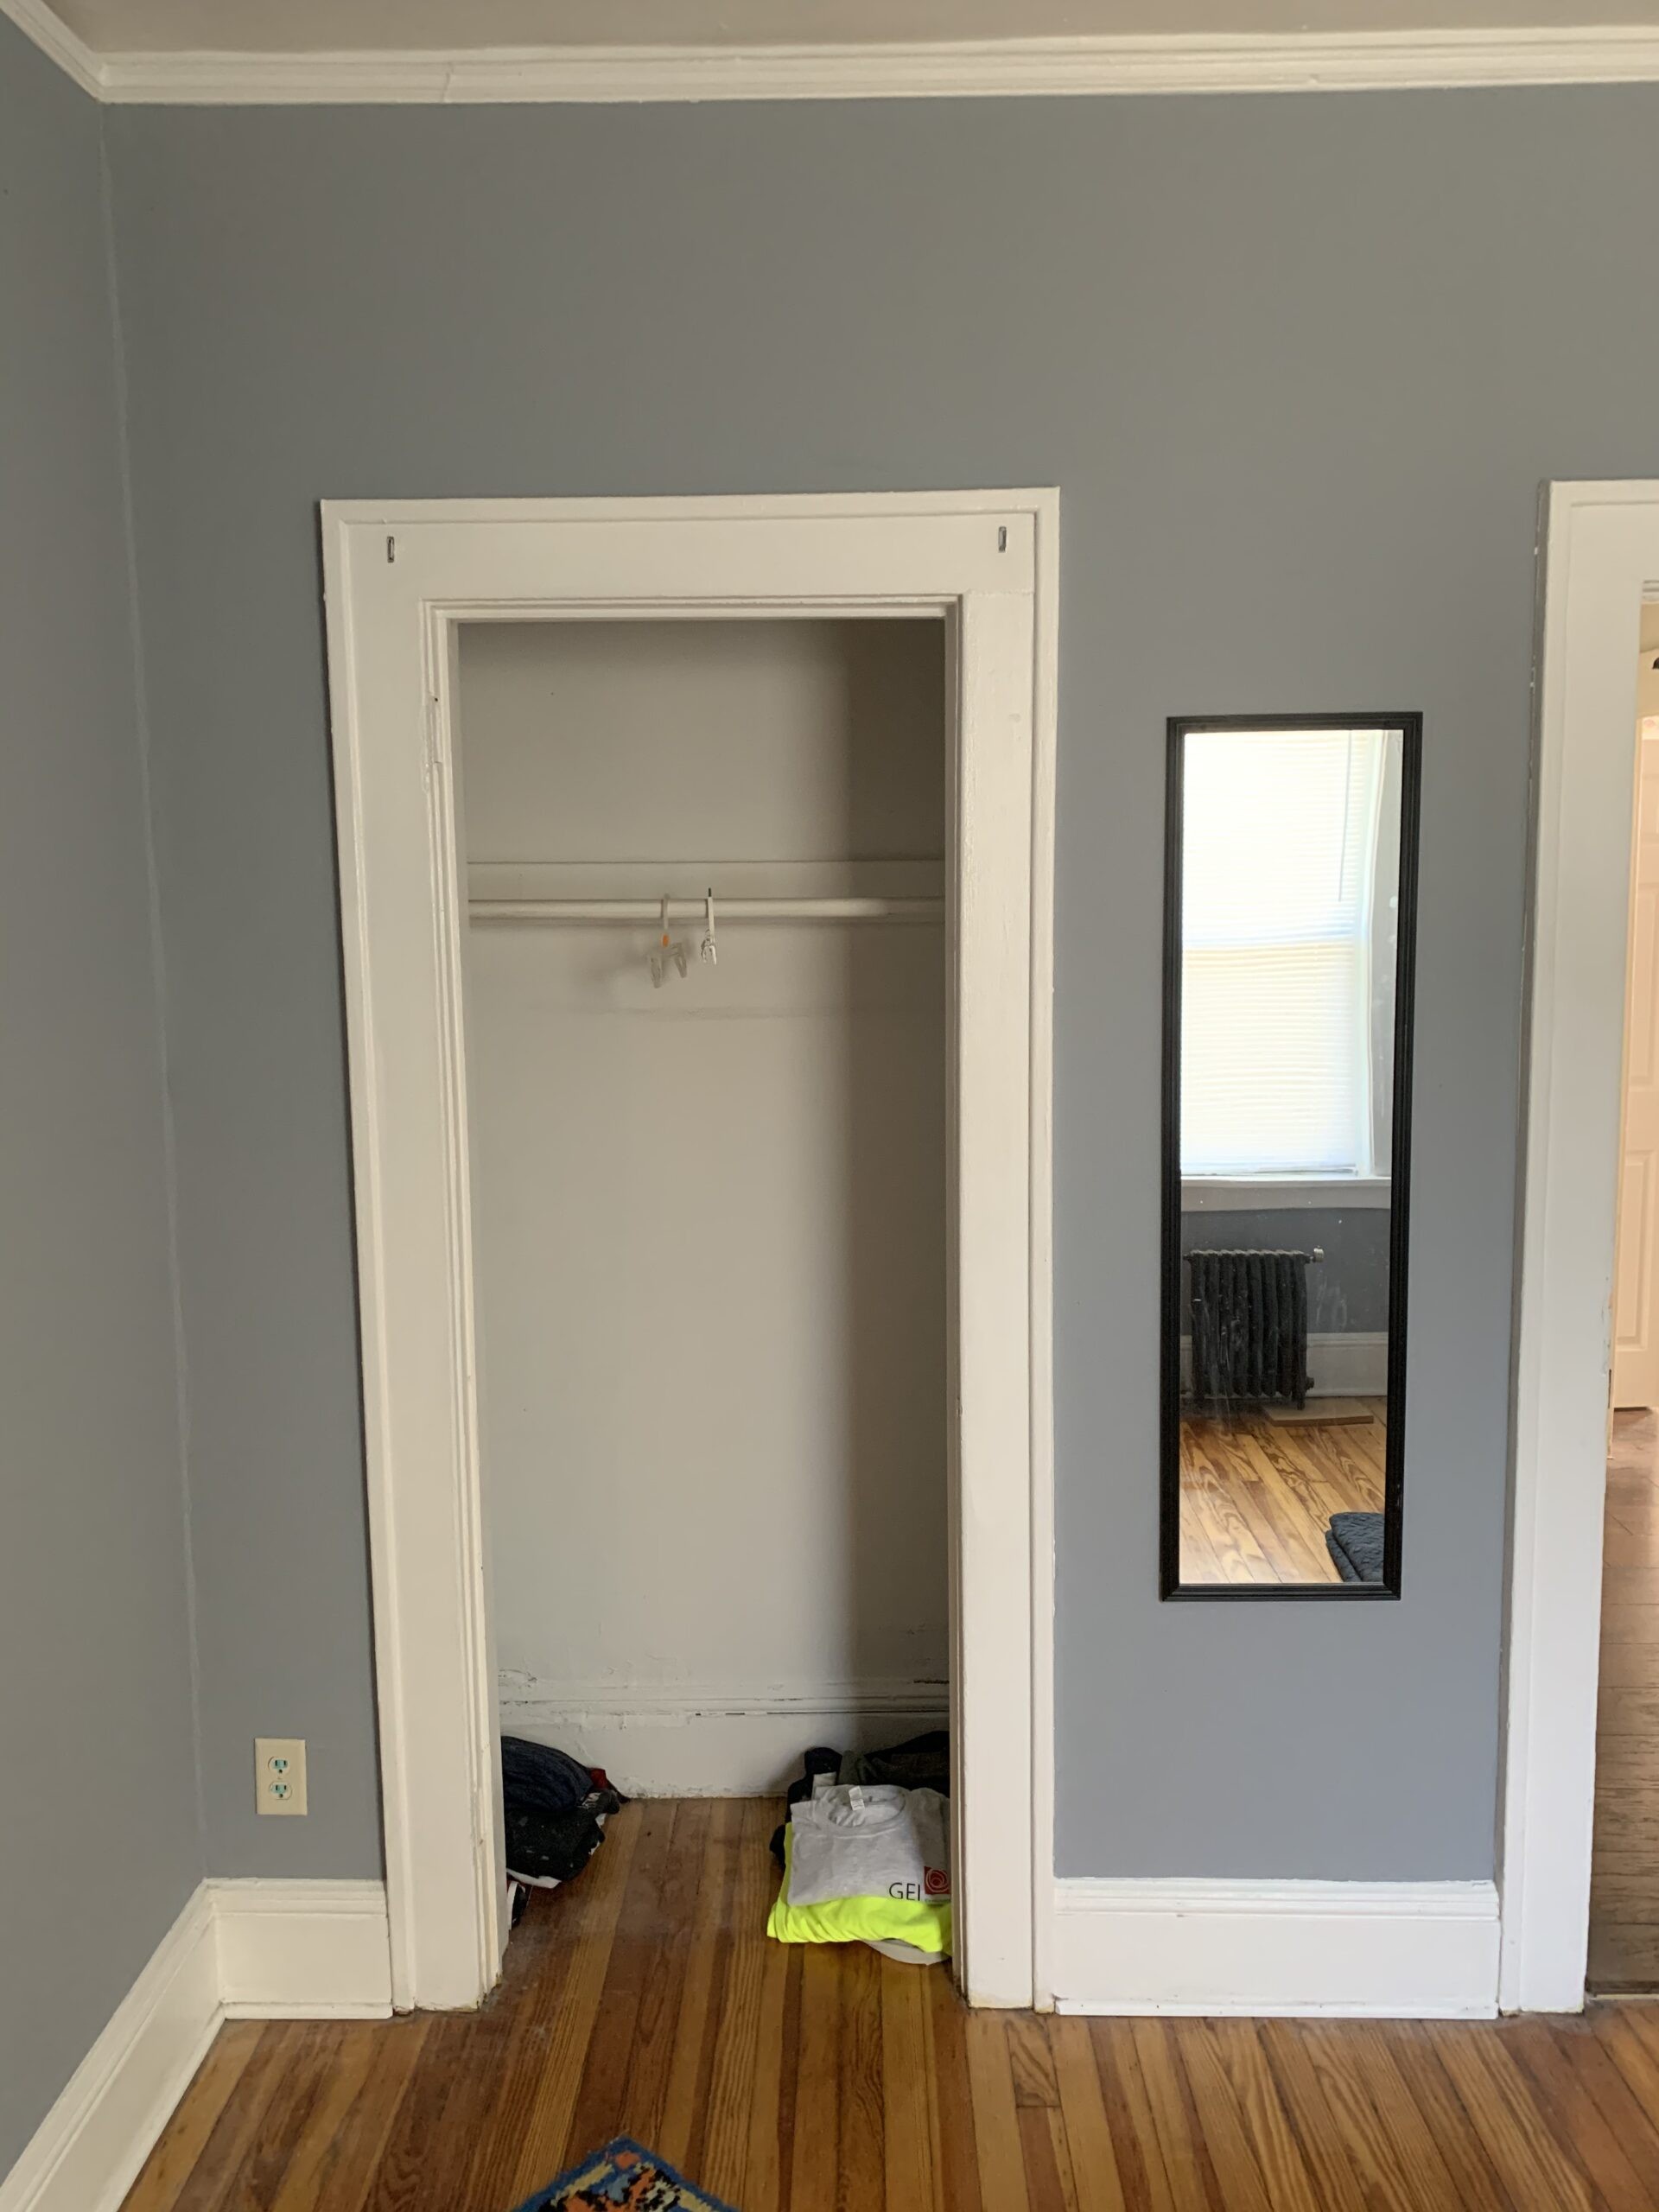
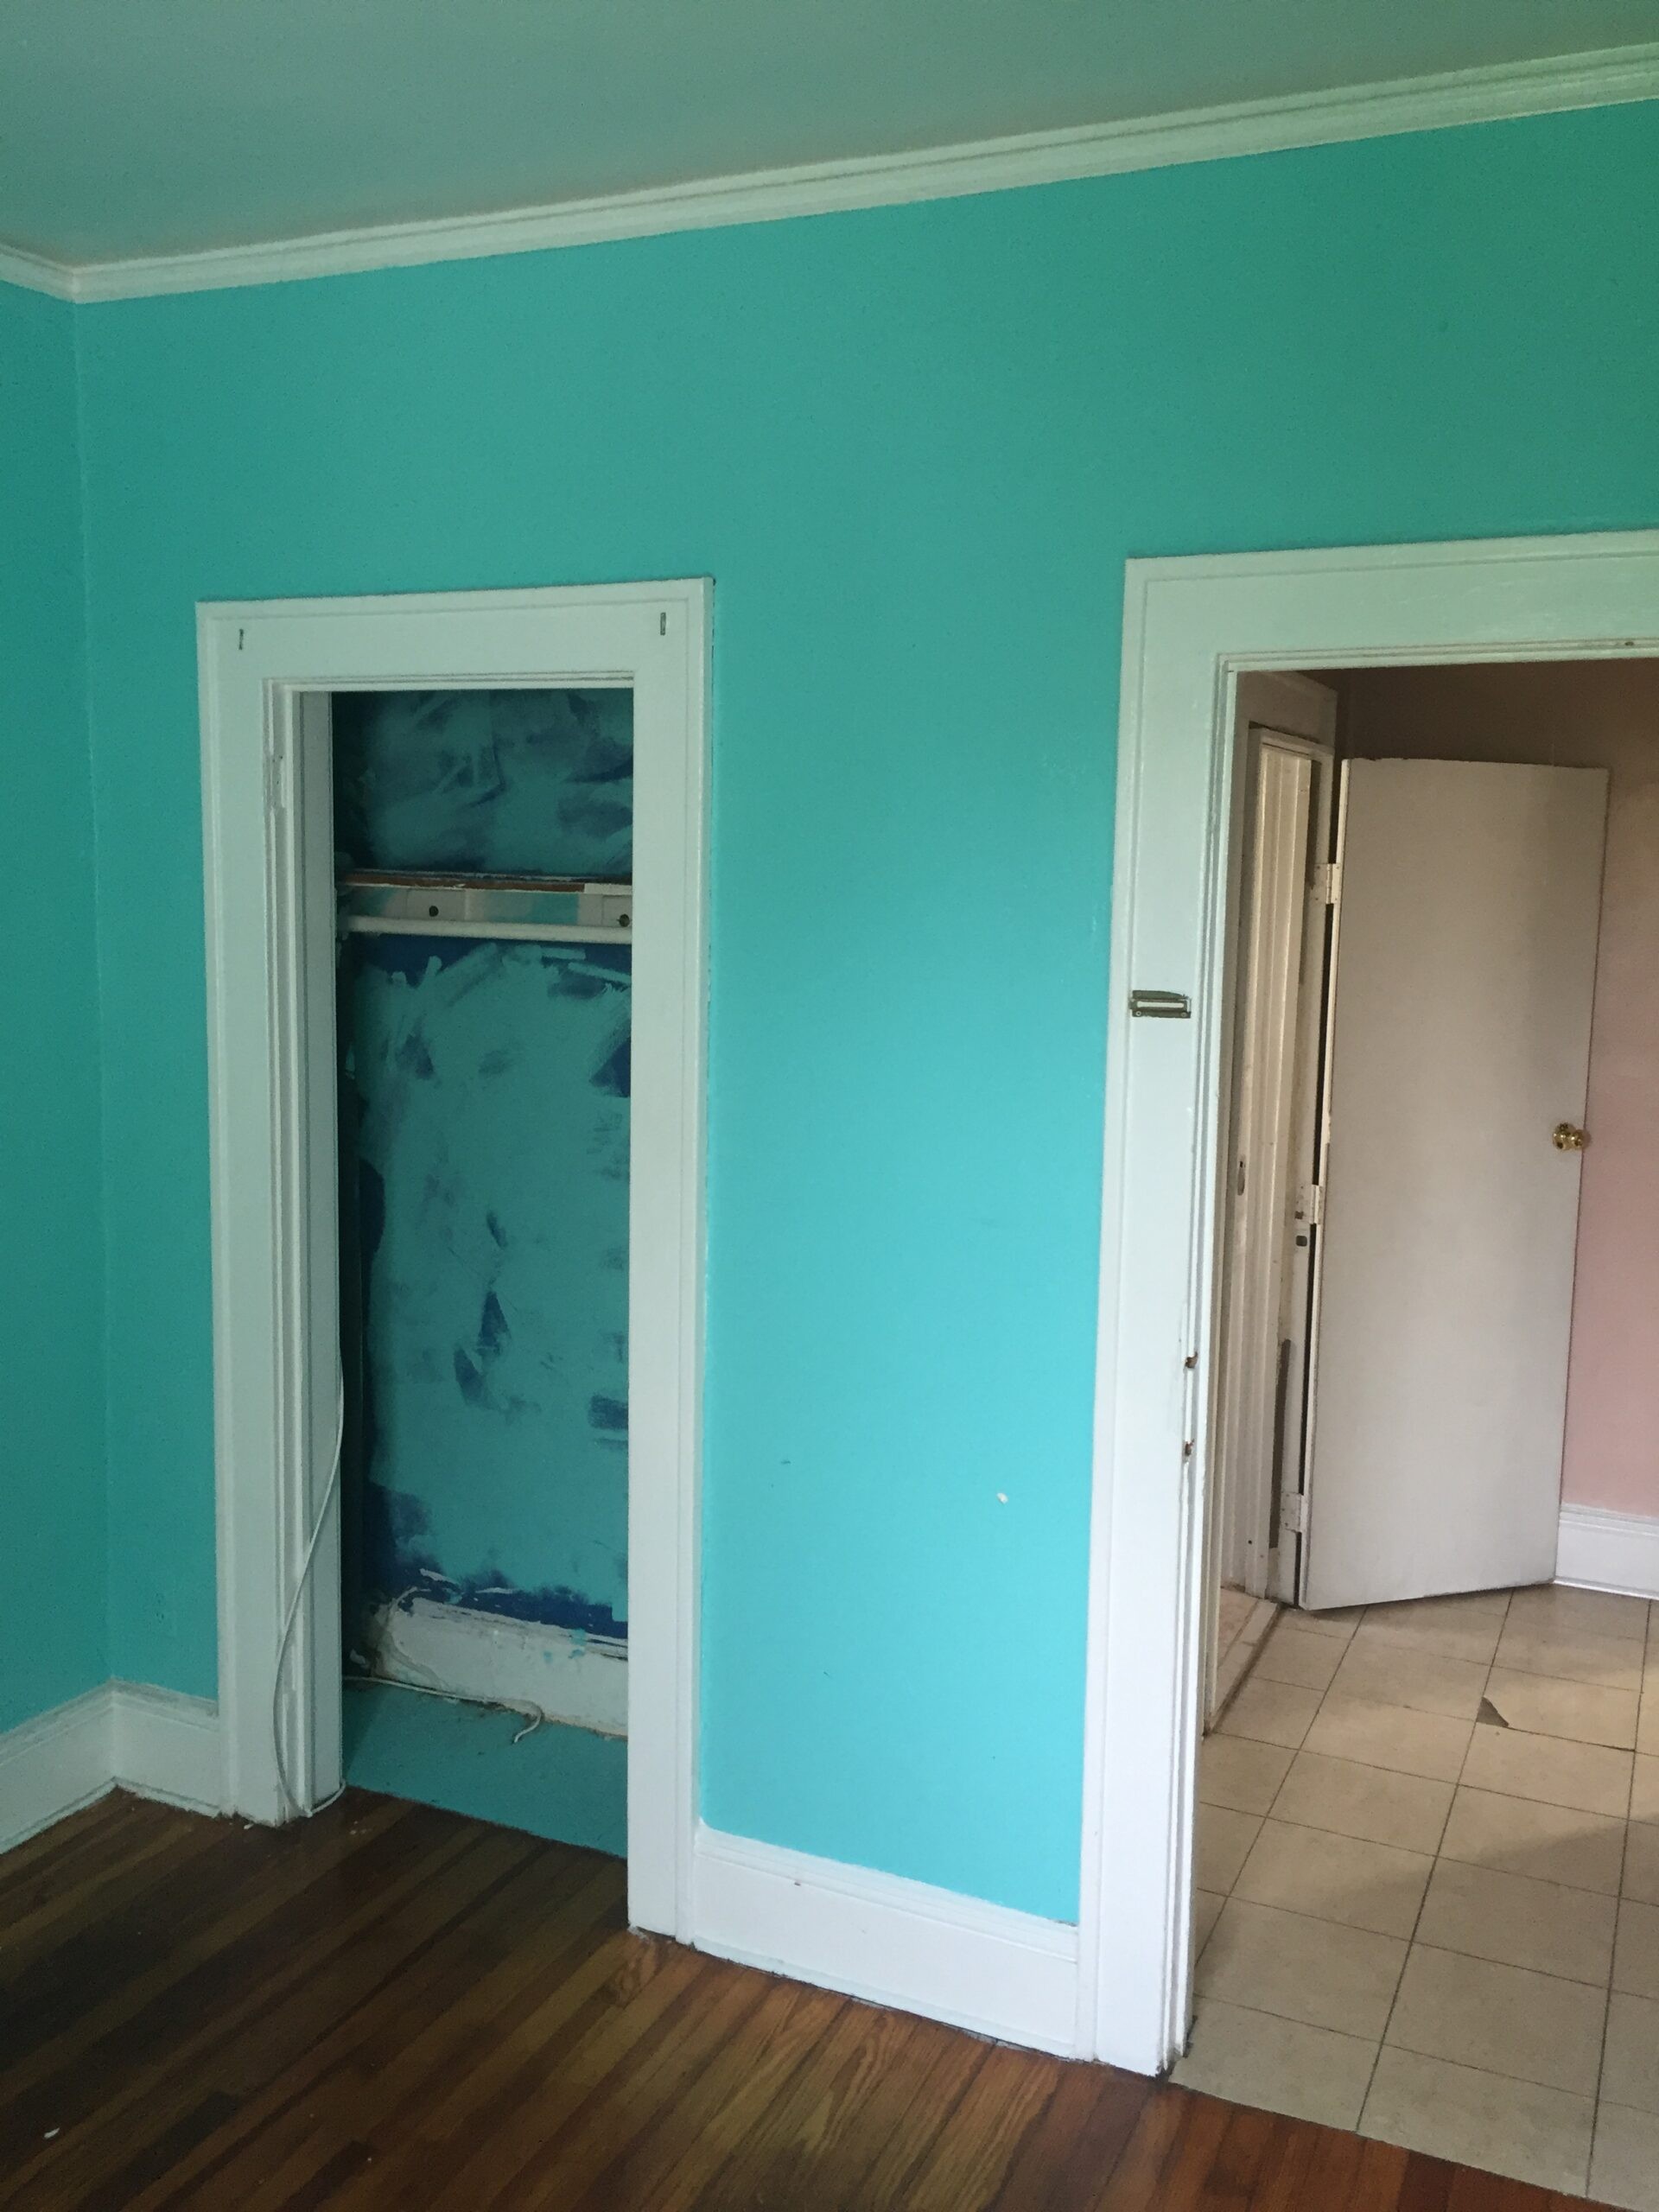
As we embarked on the master bedroom remodel, several challenges stood out. The closet’s lack of depth was a major issue, which we addressed by reframing the bathroom wall. This led to another problem – the narrow closet door. We decided to widen it and, since we were already working in that area, we incorporated the adjacent hallway into the bedroom, creating a more comfortable door swing. Reframing proved to be a recurring theme throughout the remodel.
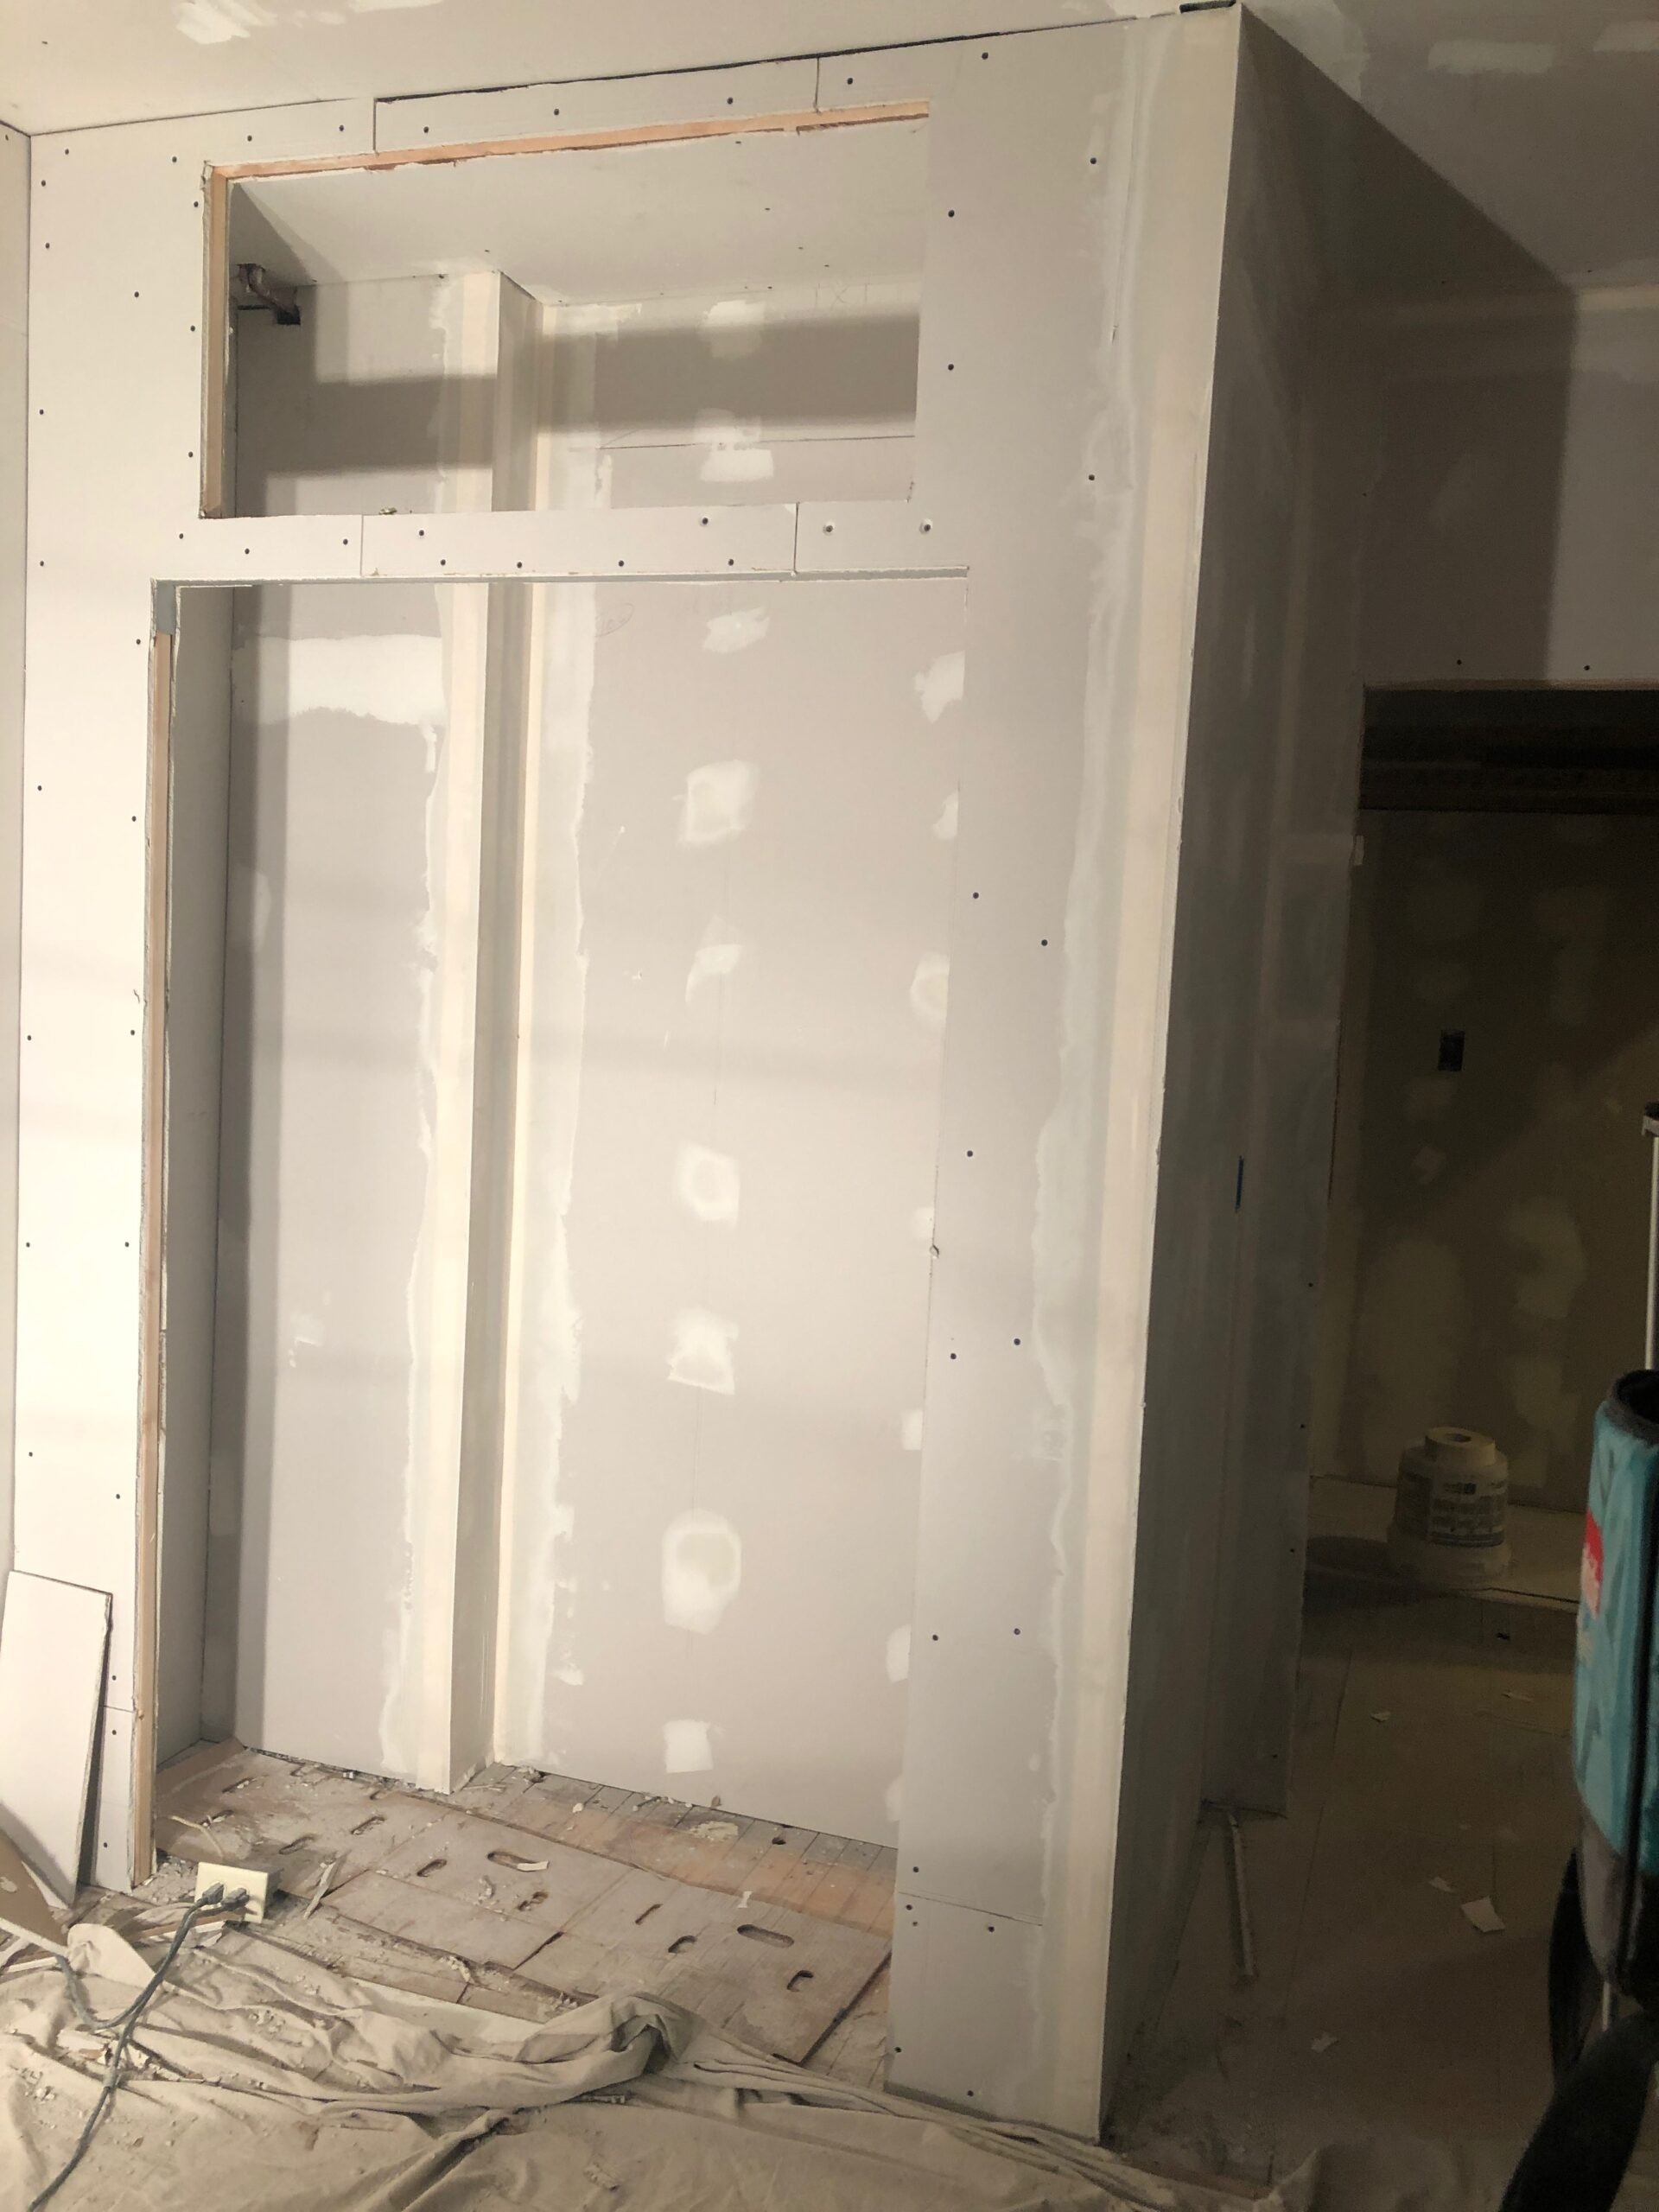
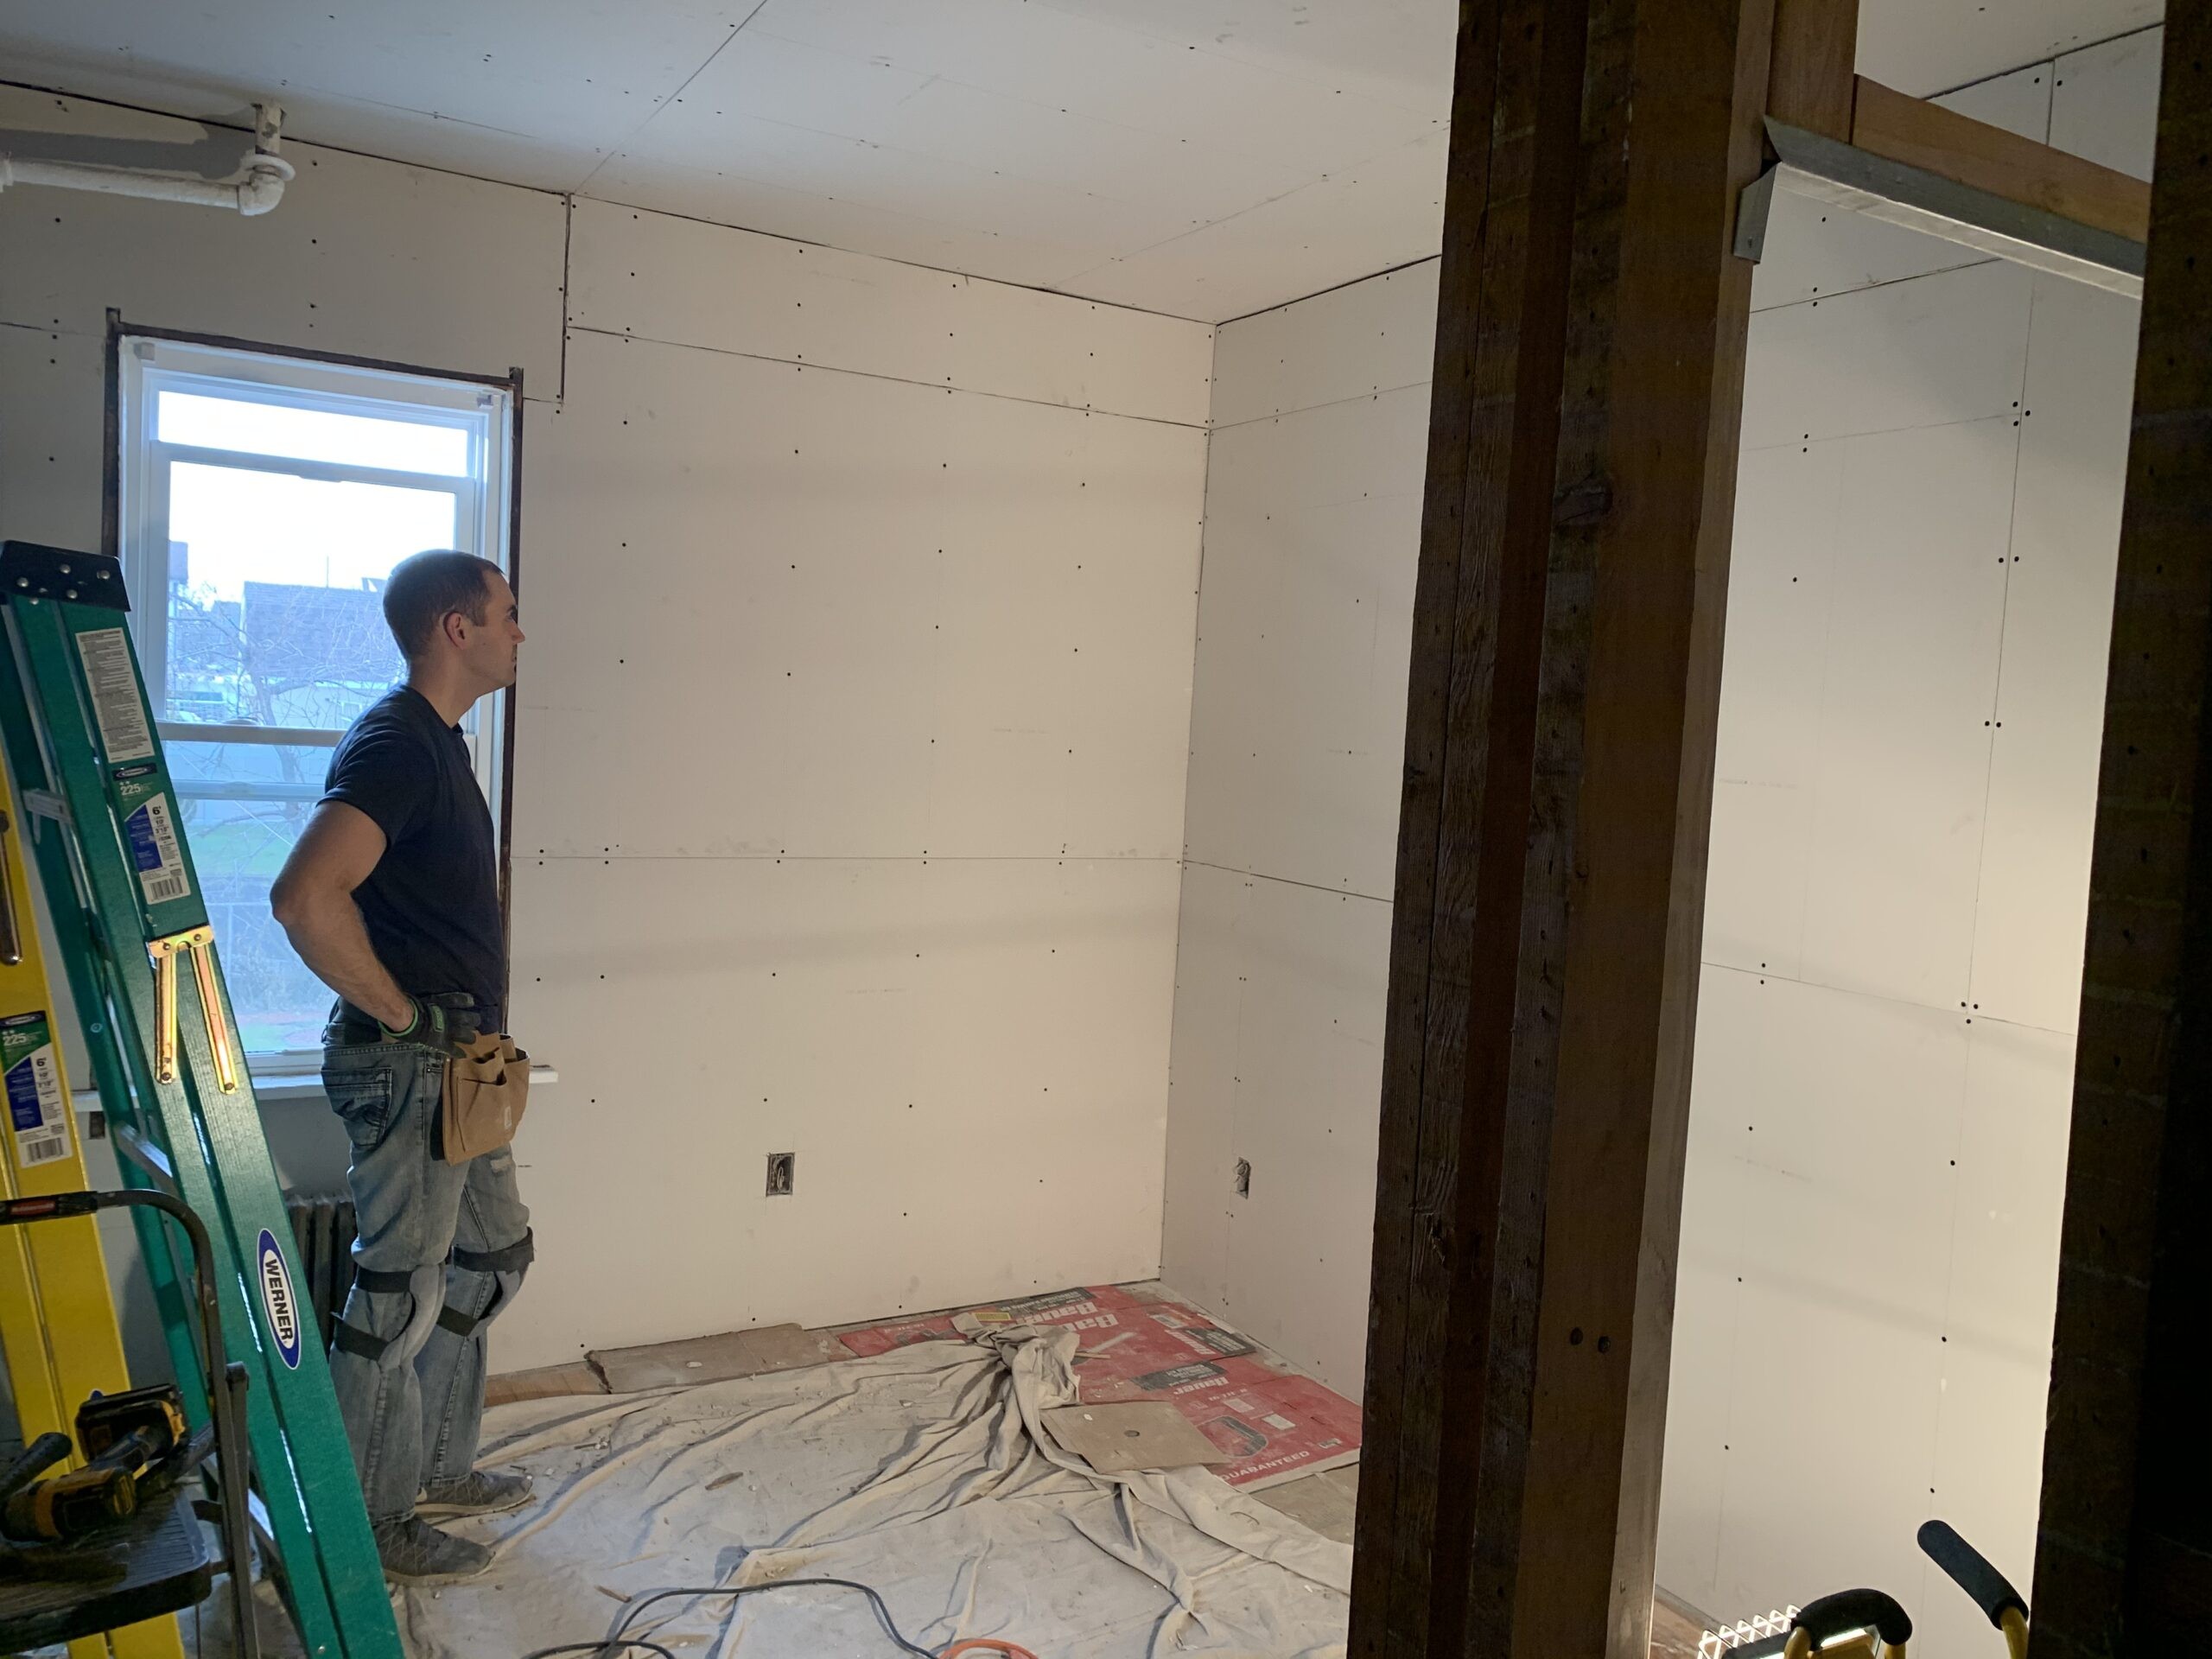
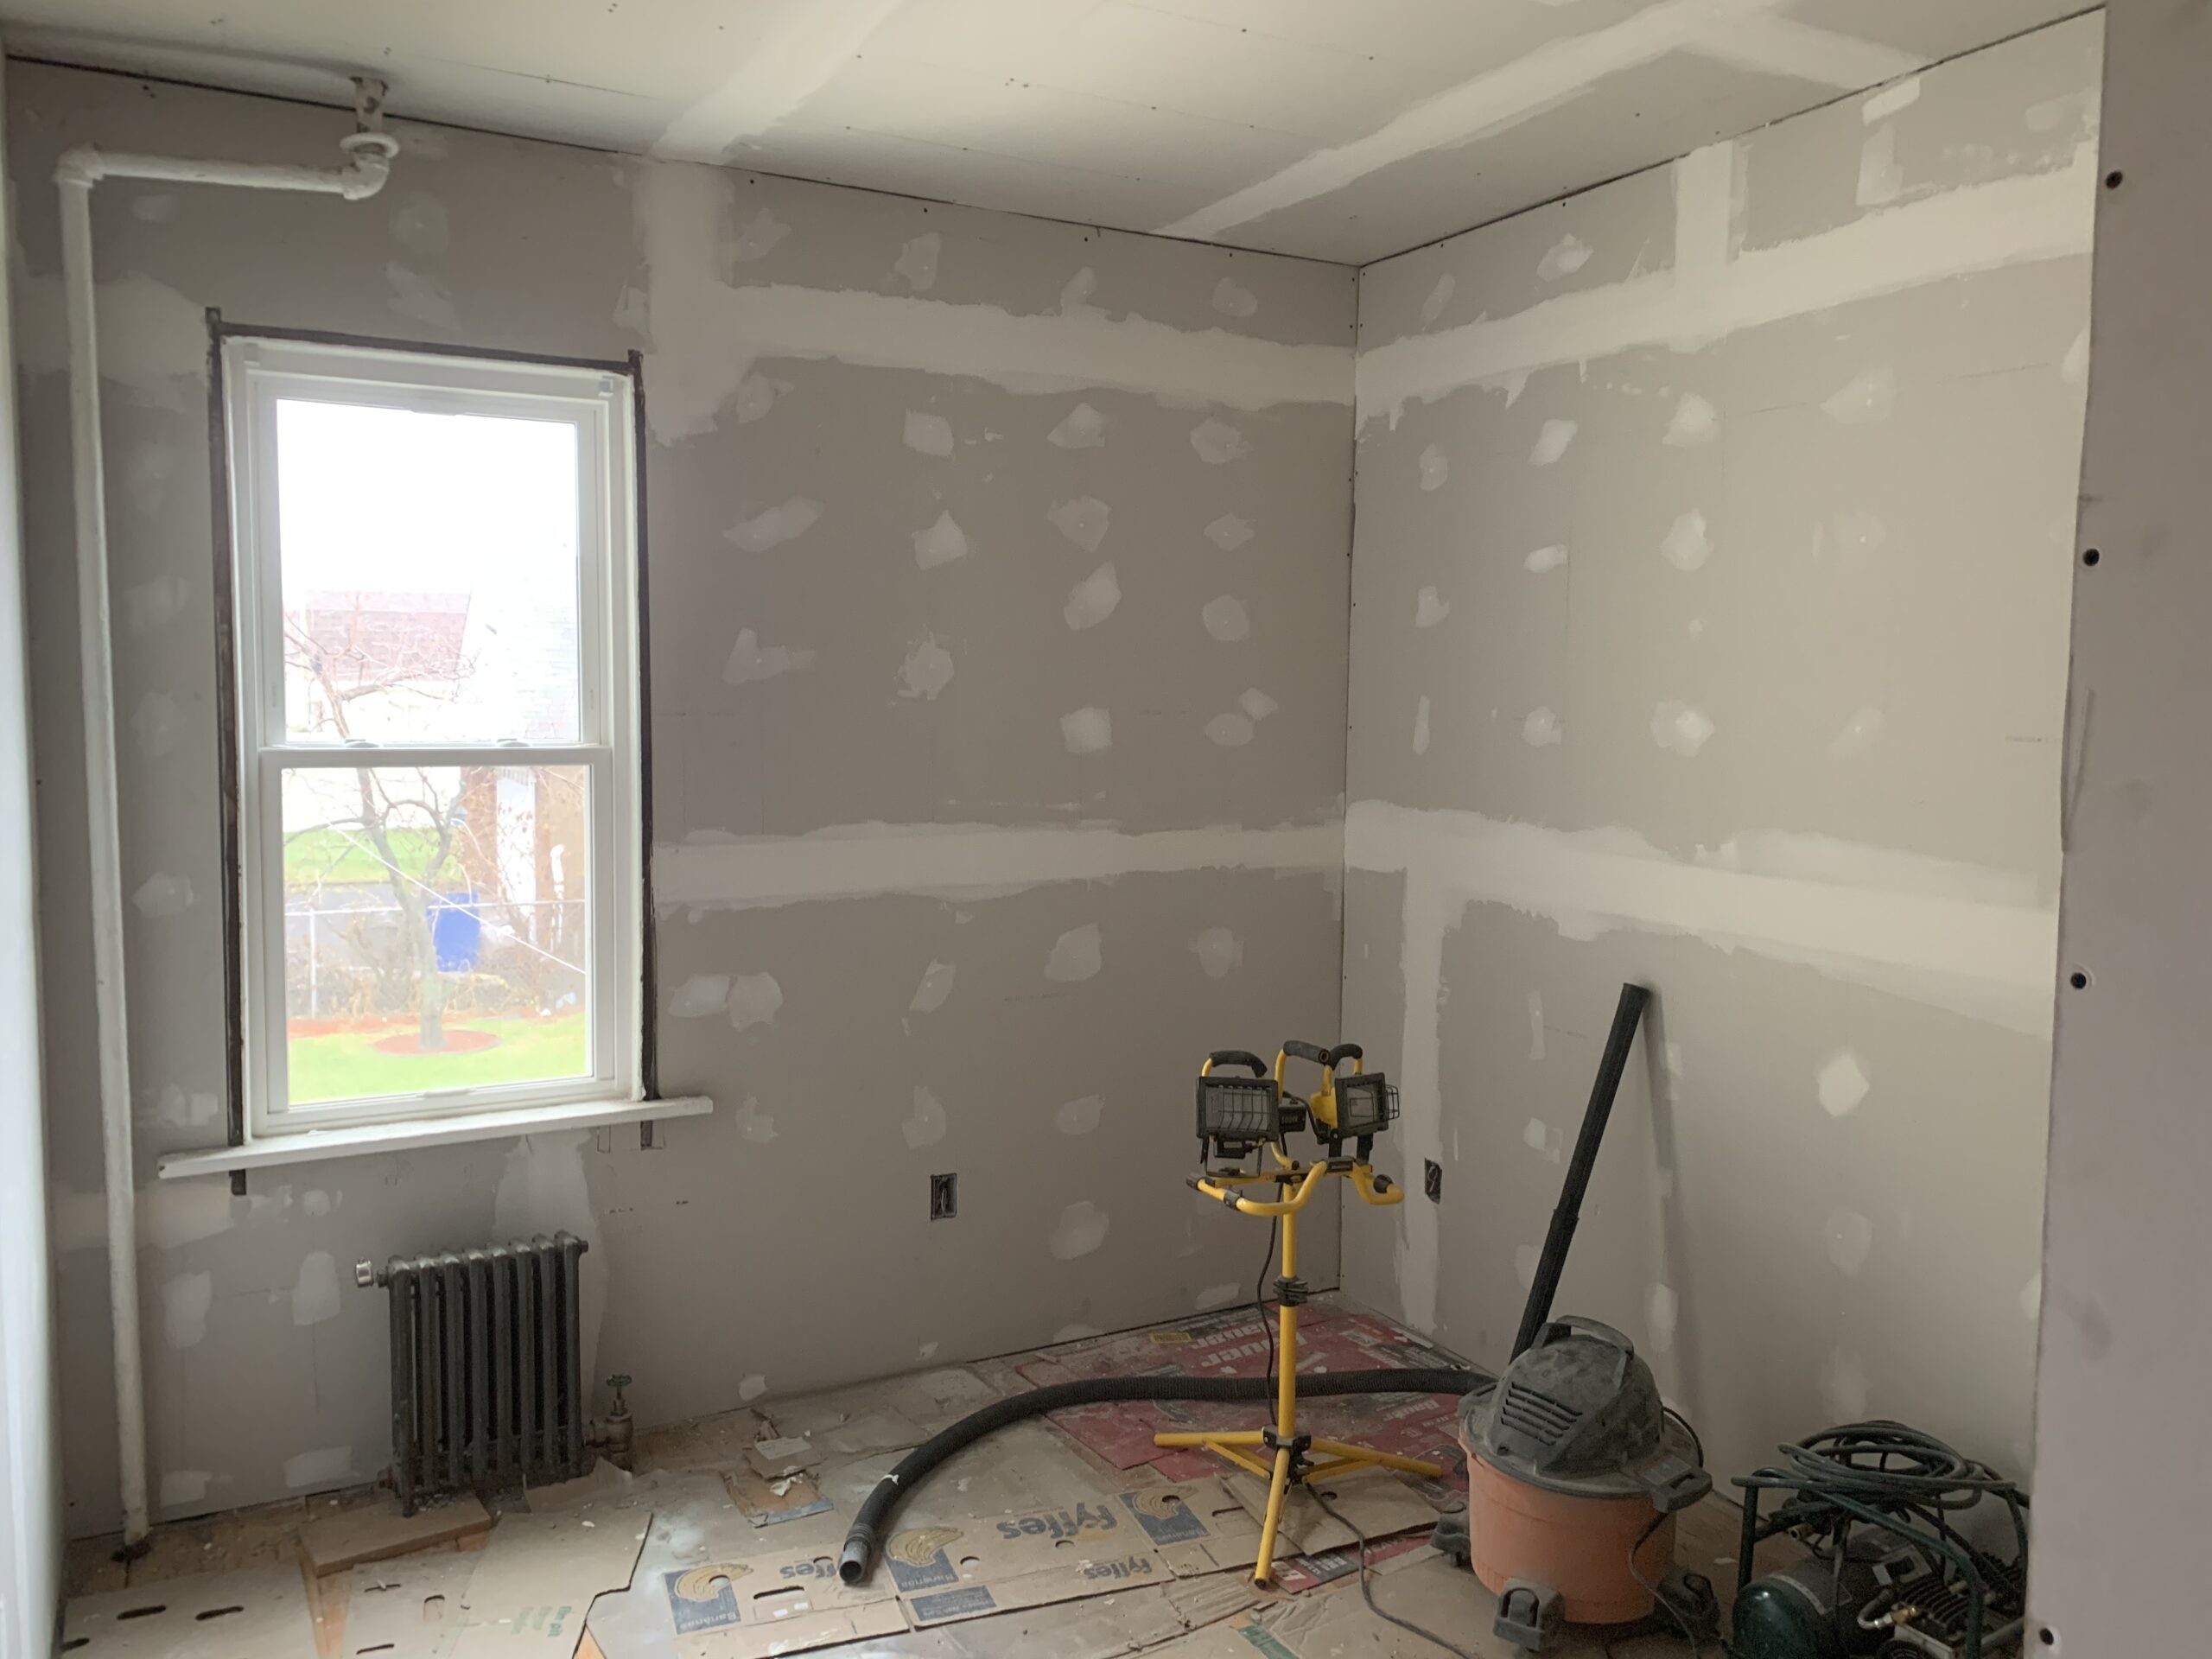
We re-framed the inside of the master closet, the hallway, and the bedroom door – all before tackling the sheetrock. The closet was finally complete with its clever high-ceiling storage solution, courtesy of my dad’s expertise. And, as we looked up at the top of the closet, we saw the spot where the doors would soon be installed. In addition to re- framing and finishing work, we also tackled some serious electrical issues and added insulation between the studs.
Our house, built in 1912, was surprisingly under-insulated – a common issue for homes of its age. To fellow new homeowners, I say: don’t fear sheetrock! Derek and I took on this entire room together, without professional help. It wasn’t always pretty, but we rolled up our sleeves and got the job done (including the ceiling). And, as it turns out, I’m quite accurate with a sheetrock knife. Once you’ve mastered the basics, sheetrock isn’t too difficult. I encourage you to give it a try!
And, yes, we may not have followed best practices with our stacked boards – but hey, the room still feels cozy.
A Hallway Hiccup

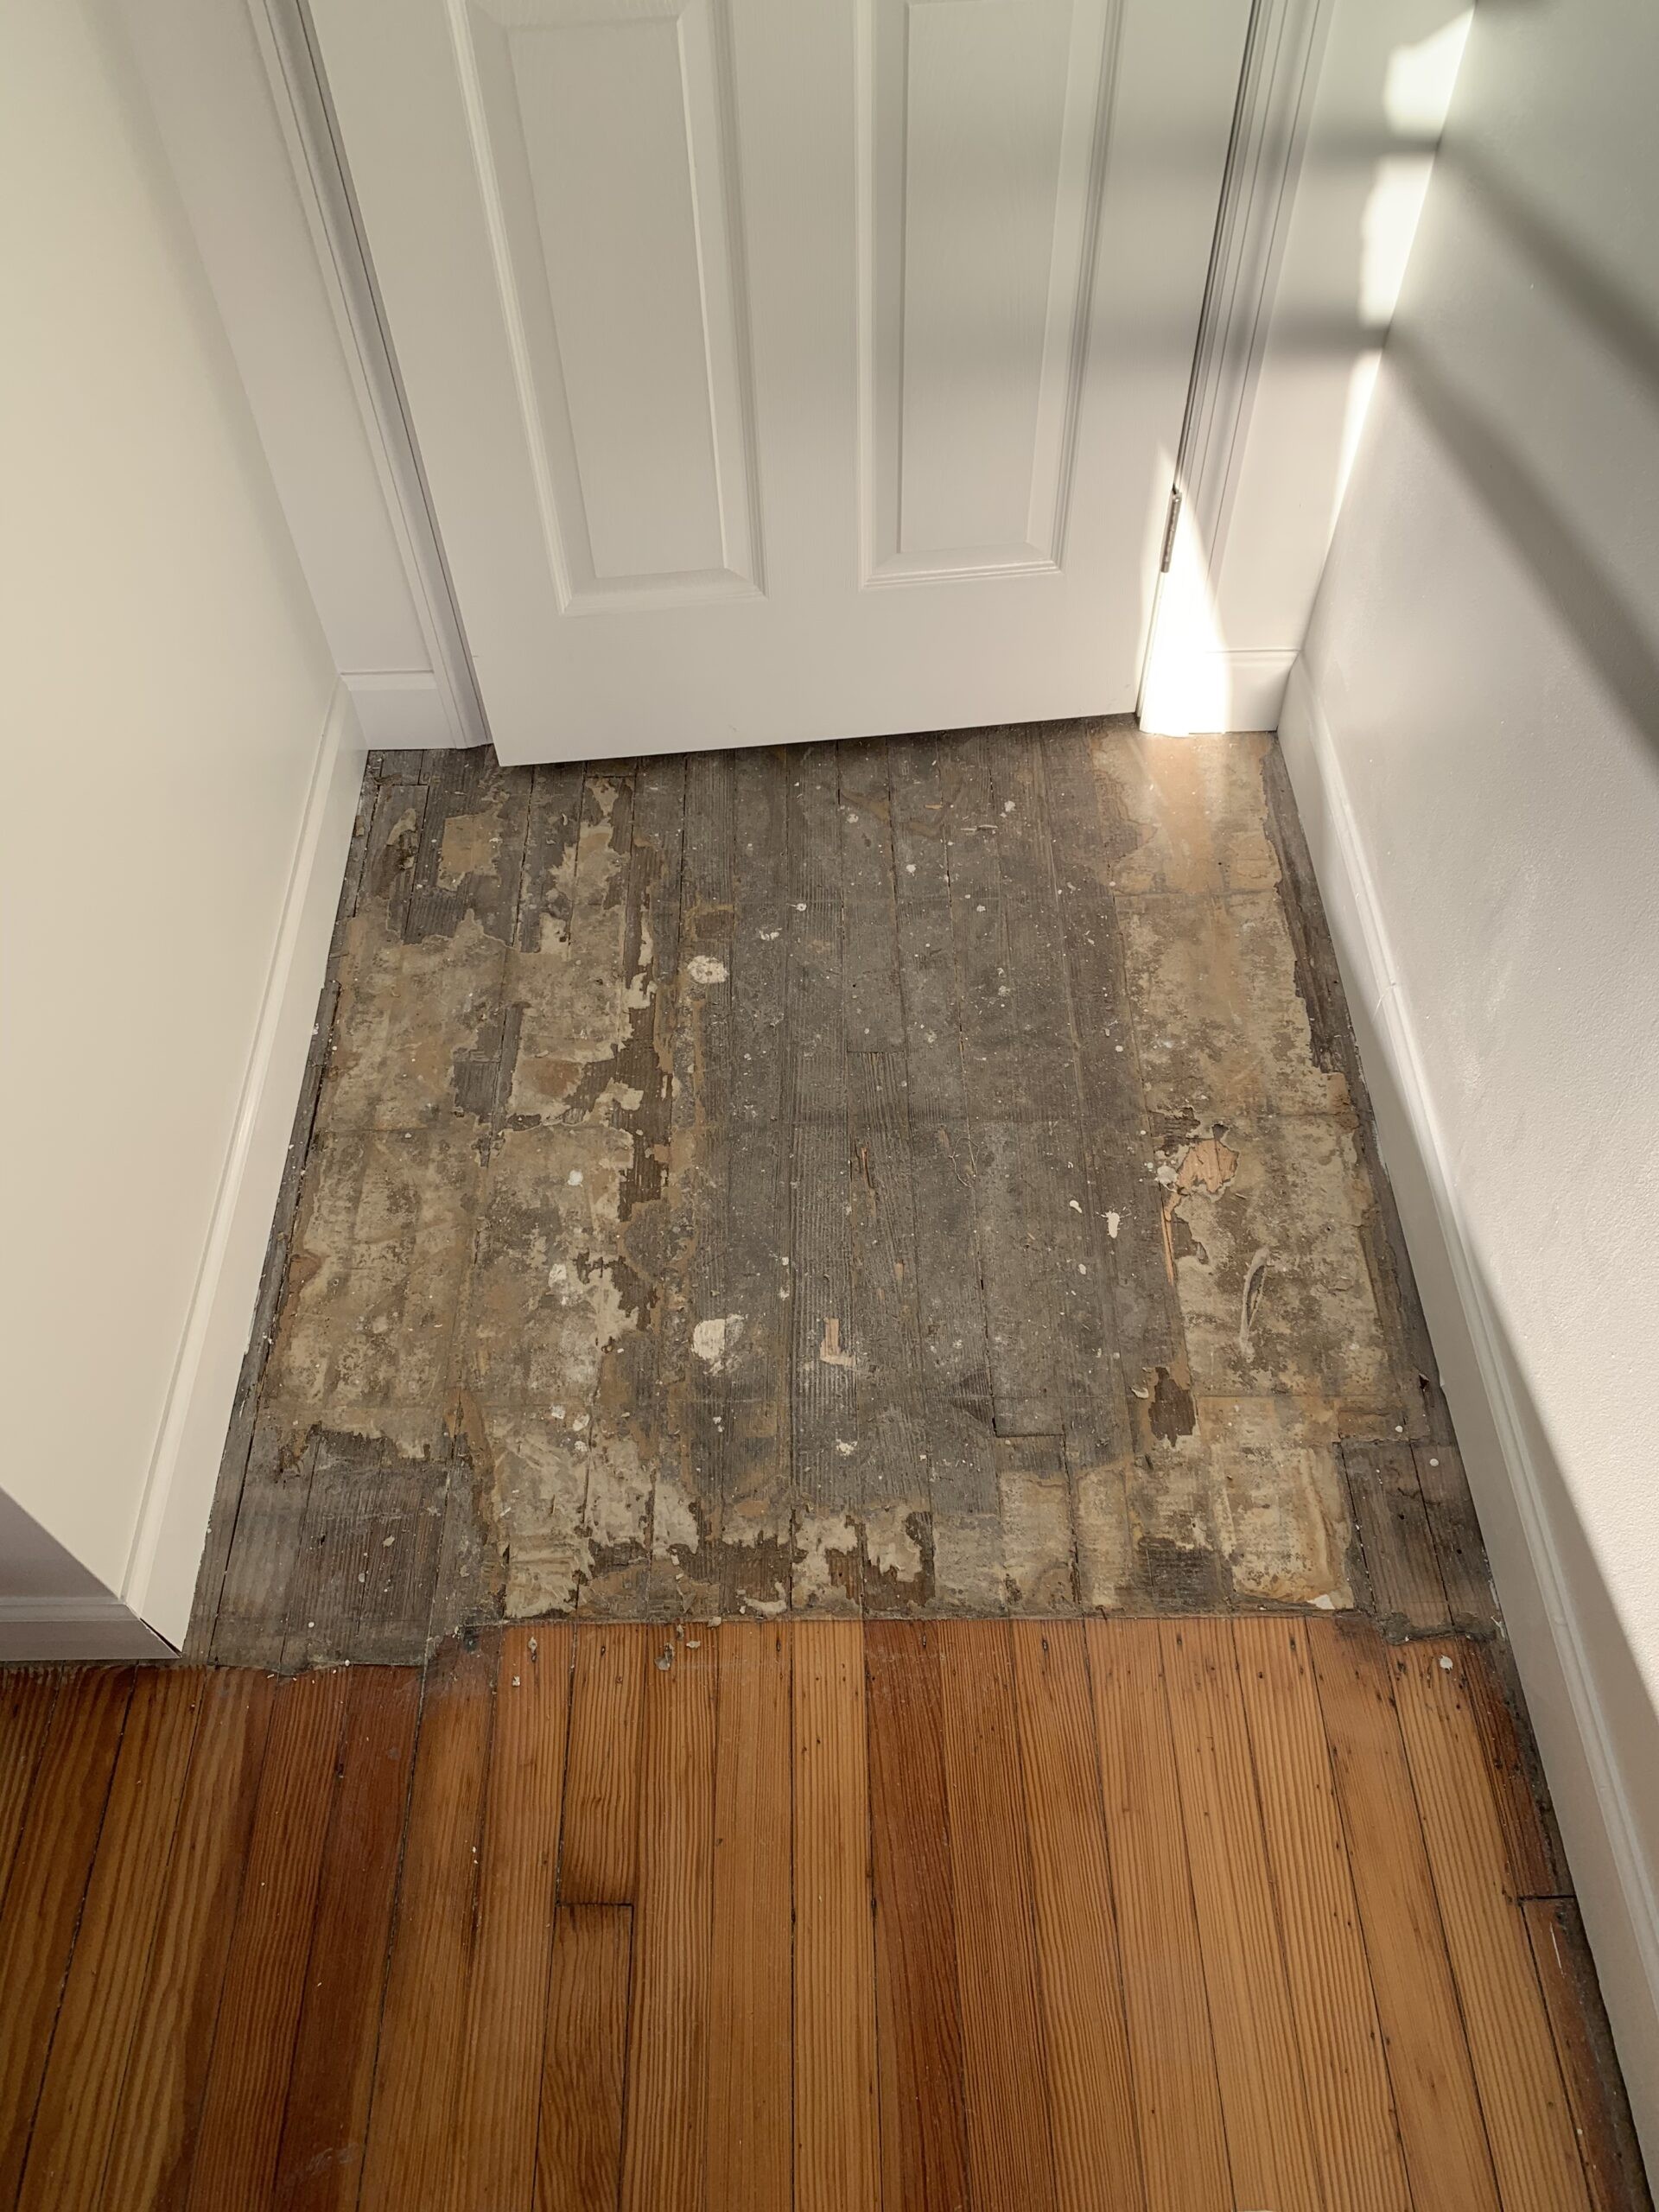

The hallway renovation wasn’t without its challenges, particularly when it came to the floor. The previous homeowner had left behind a lingering legacy of peel and stick tiles that seemed to mock our very existence. Little did they know, however, that their attempt at a uniform aesthetic would ultimately be undone by the power of determination and elbow grease.
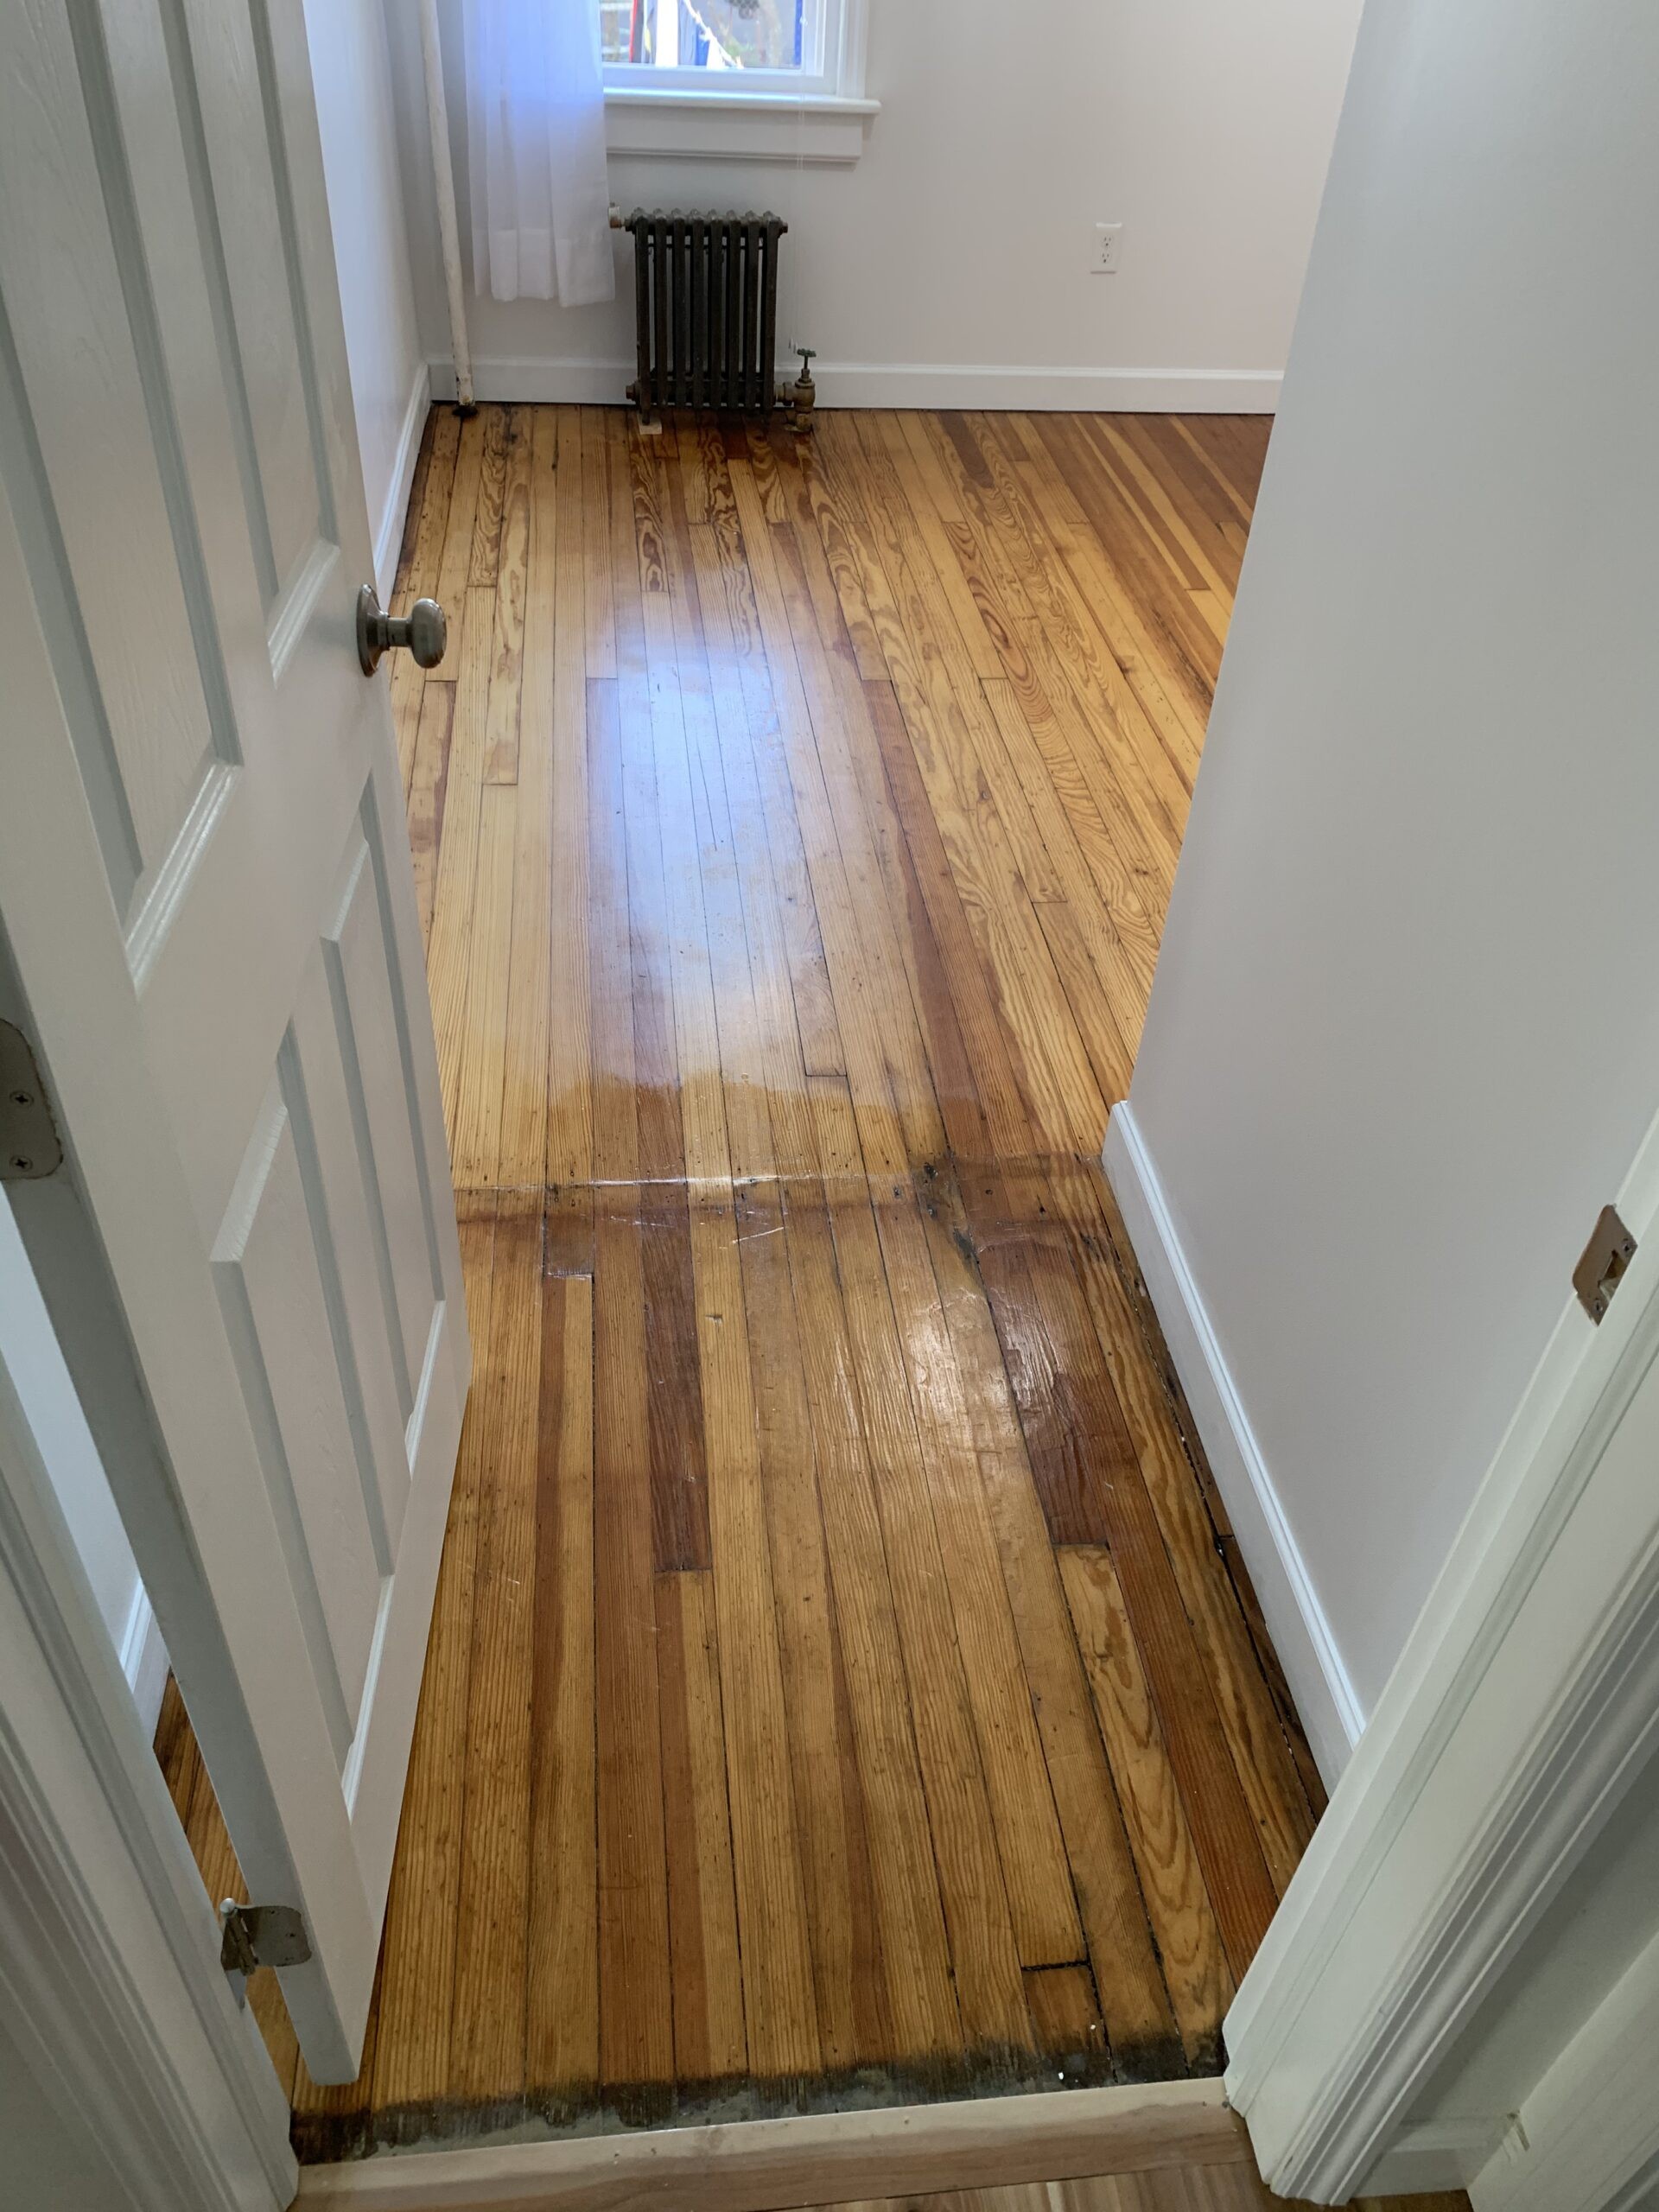
To rid ourselves of these pesky tiles, we employed a tried-and-true method that involved ripping them up by hand, followed by some serious chiseling and sanding. Yes, you read that right – sanding, and lots of it. But trust us, the end result was well worth the effort. With our orbital sander (we opted for the Makita BO5030K 5″ Random Orbit Sander) as our trusty sidekick, we were able to transform the floor from a dusty nightmare into a stunning work of art.
And let’s not forget the final flourish – a beautiful varnish that brought it all together. It was a labor of love, to say the least, with my husband dedicating countless evenings to the task while I… well, let’s just say I was grateful for the air conditioning and the fact that I didn’t have to lift a finger (at least, not literally).
The before-and-after transformation is nothing short of remarkable, and we’re thrilled to have emerged victorious in our battle against those pesky peel and stick tiles.
Final Before and After
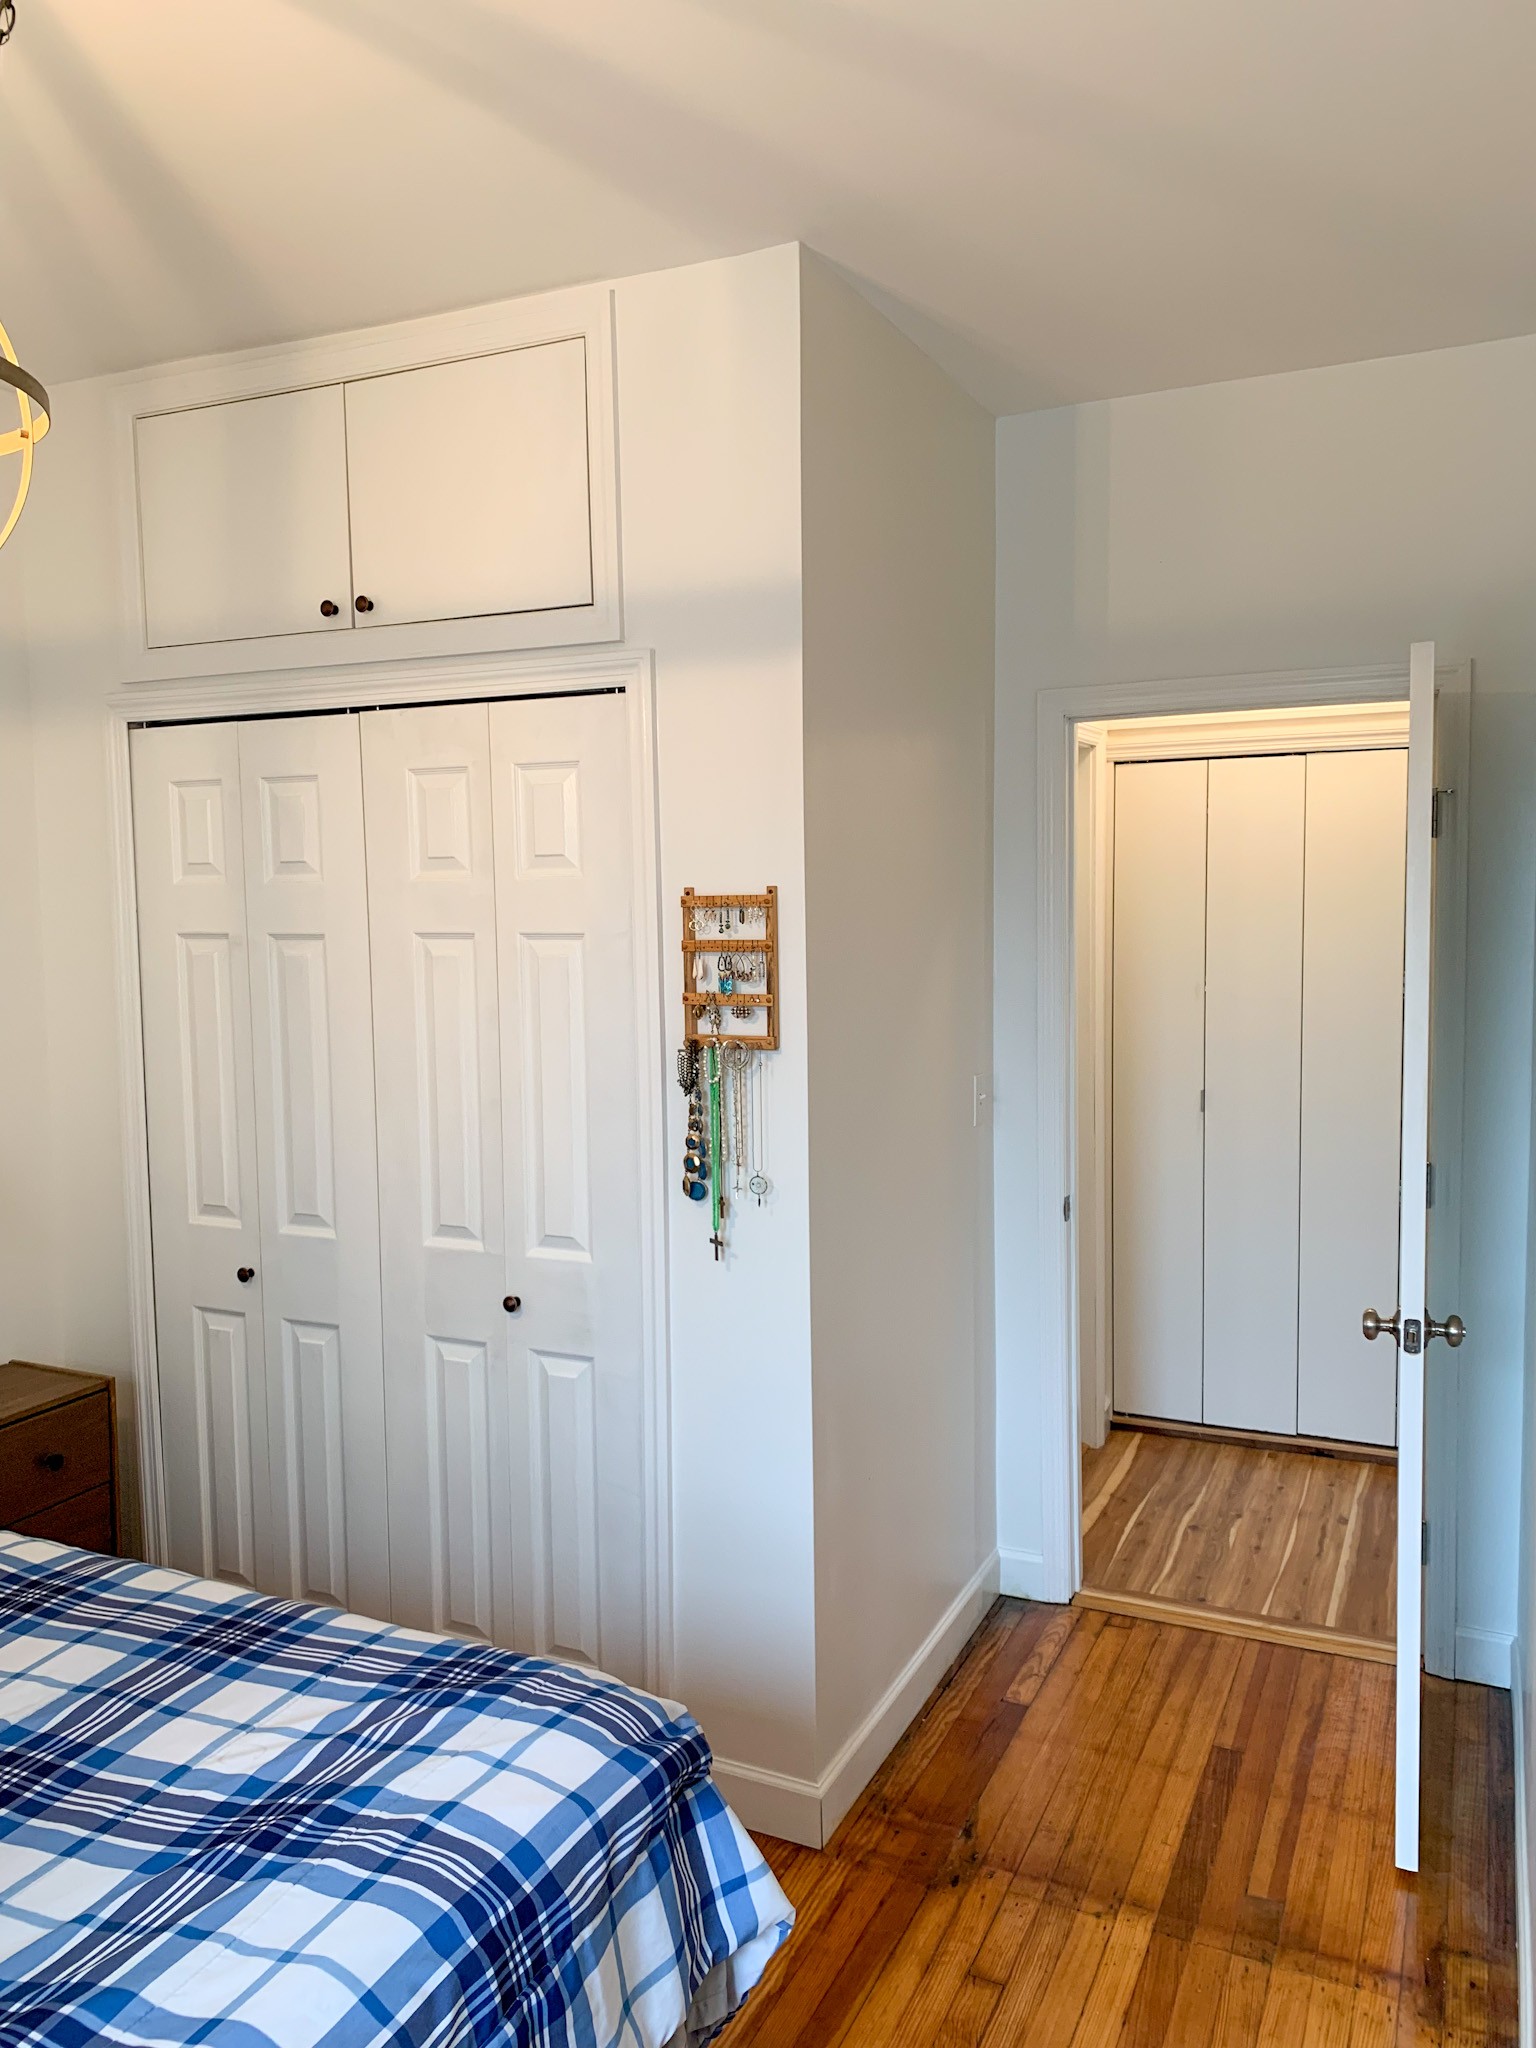
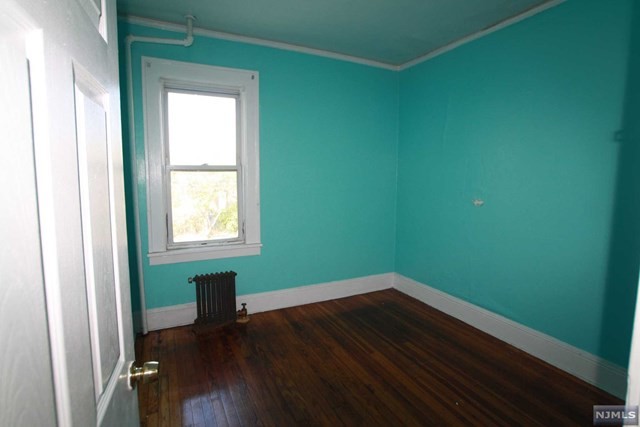
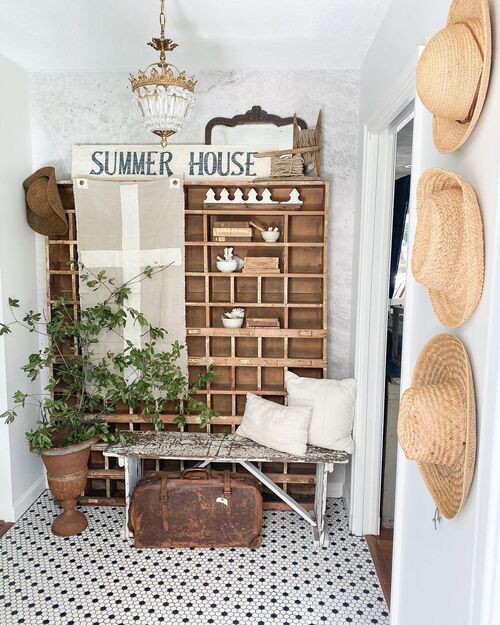
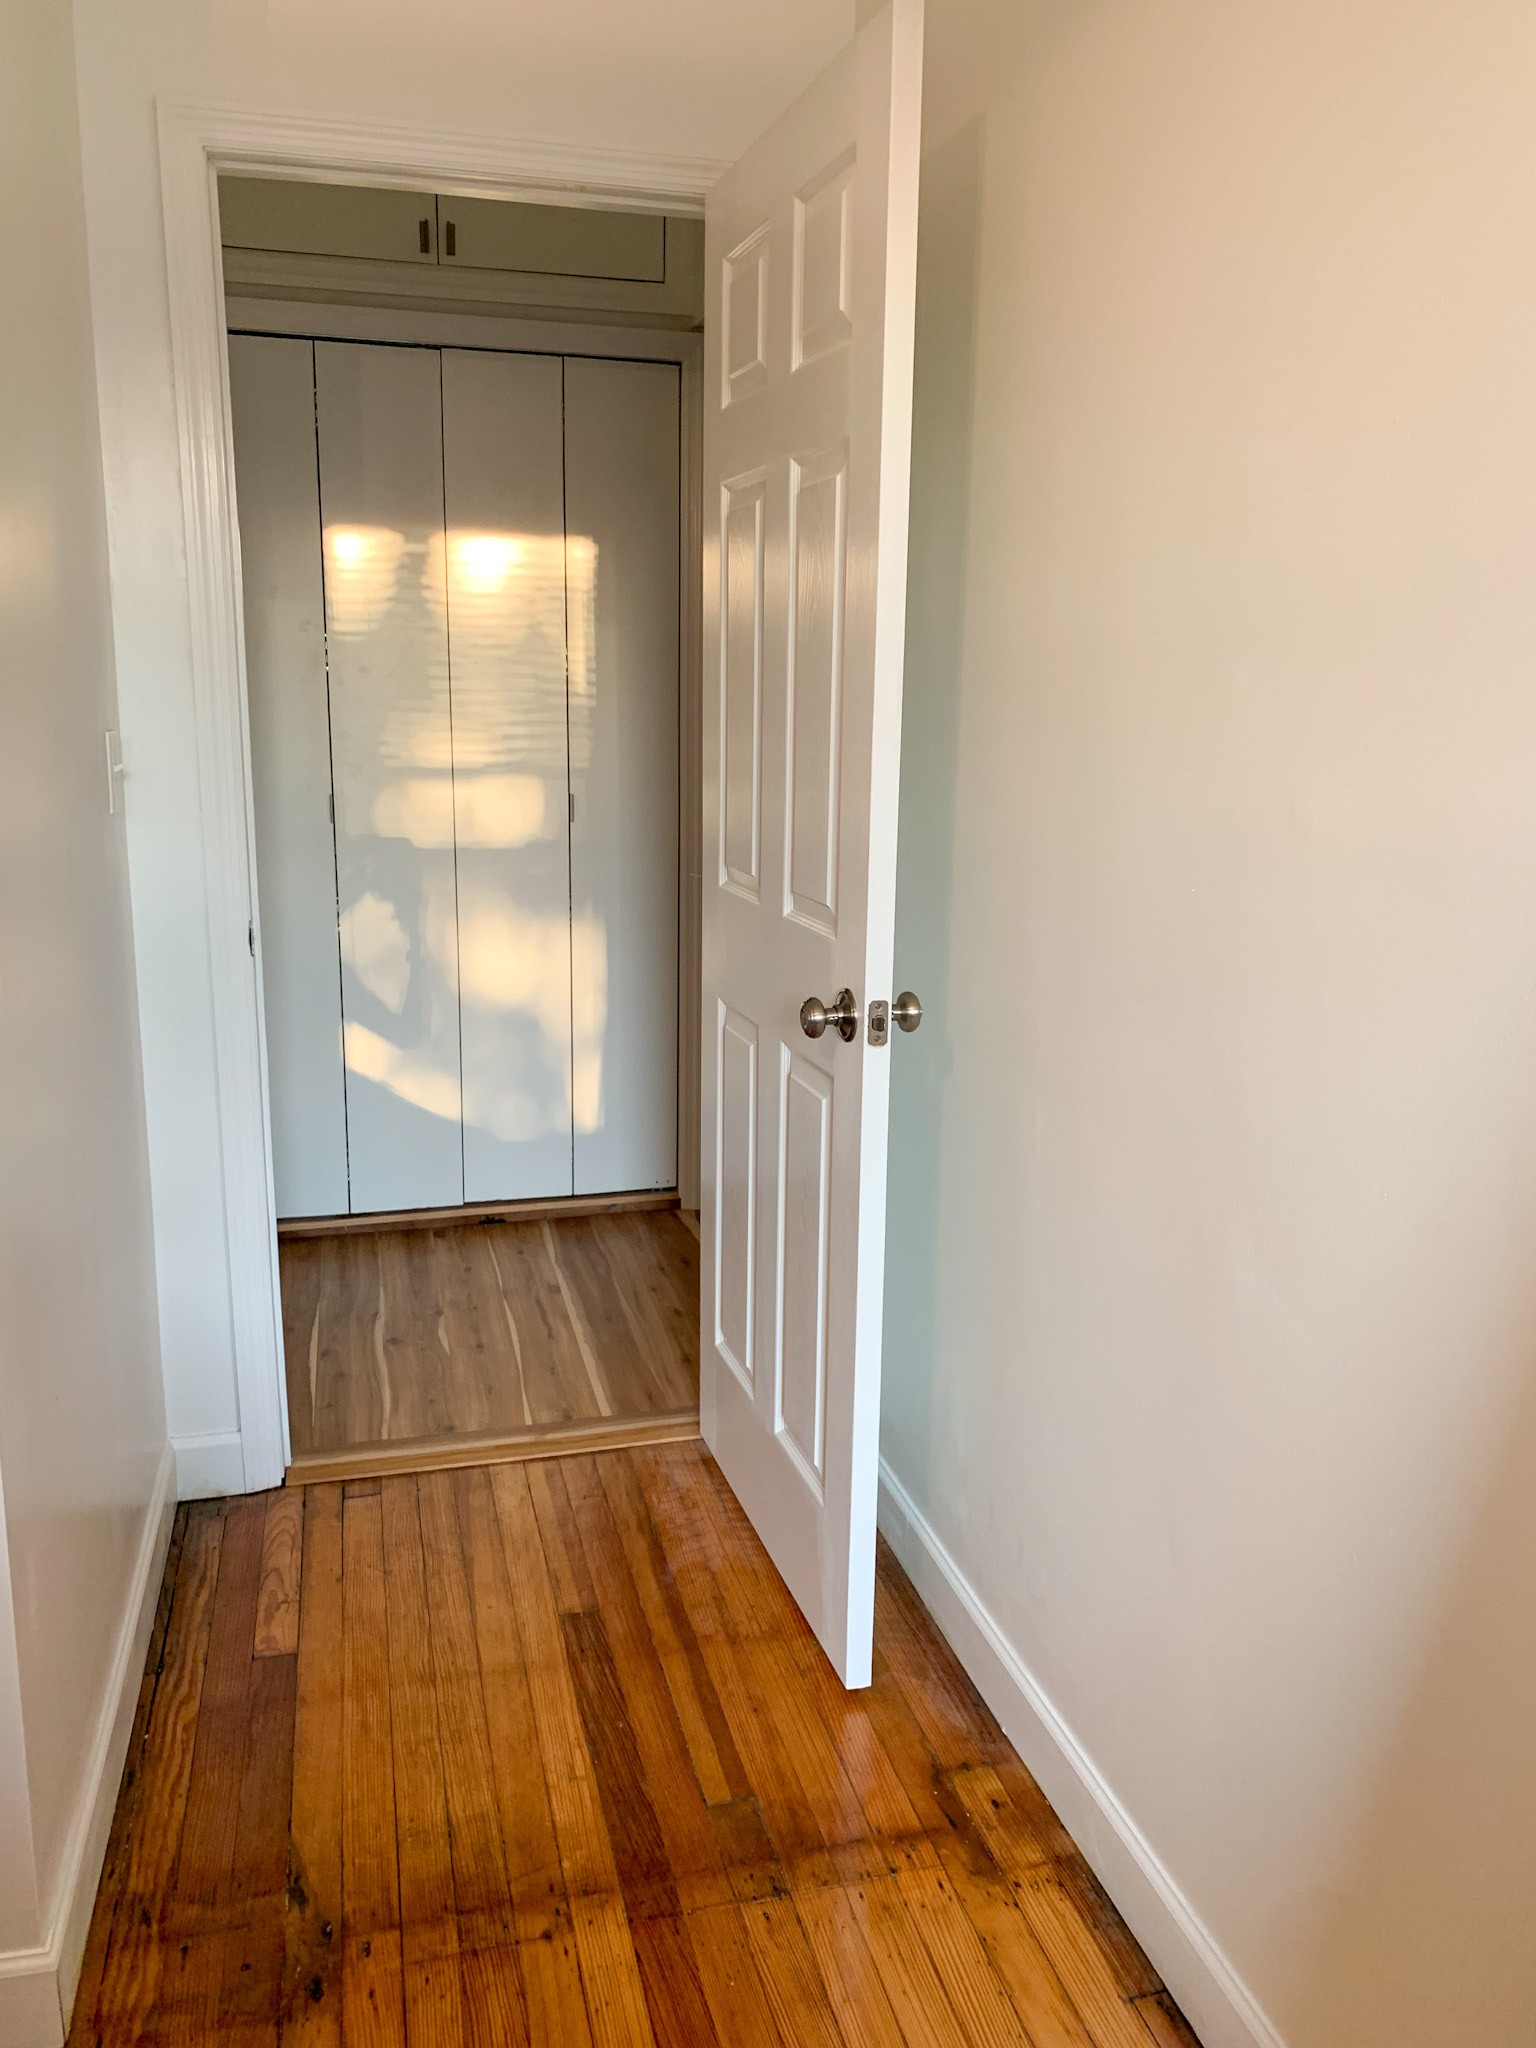
The small master bedroom remodel is now complete. We’re thrilled with the wide bifold closet doors that provide effortless access to both sides of the closet. The upper storage section is perfect for stashing off-season clothing and coats – a must-have in Jersey, where we experience all four seasons! The door swing has also been greatly improved, allowing for a comfortable opening without grazing the bed as it did before. With more space to spare, the bedroom feels larger than ever.
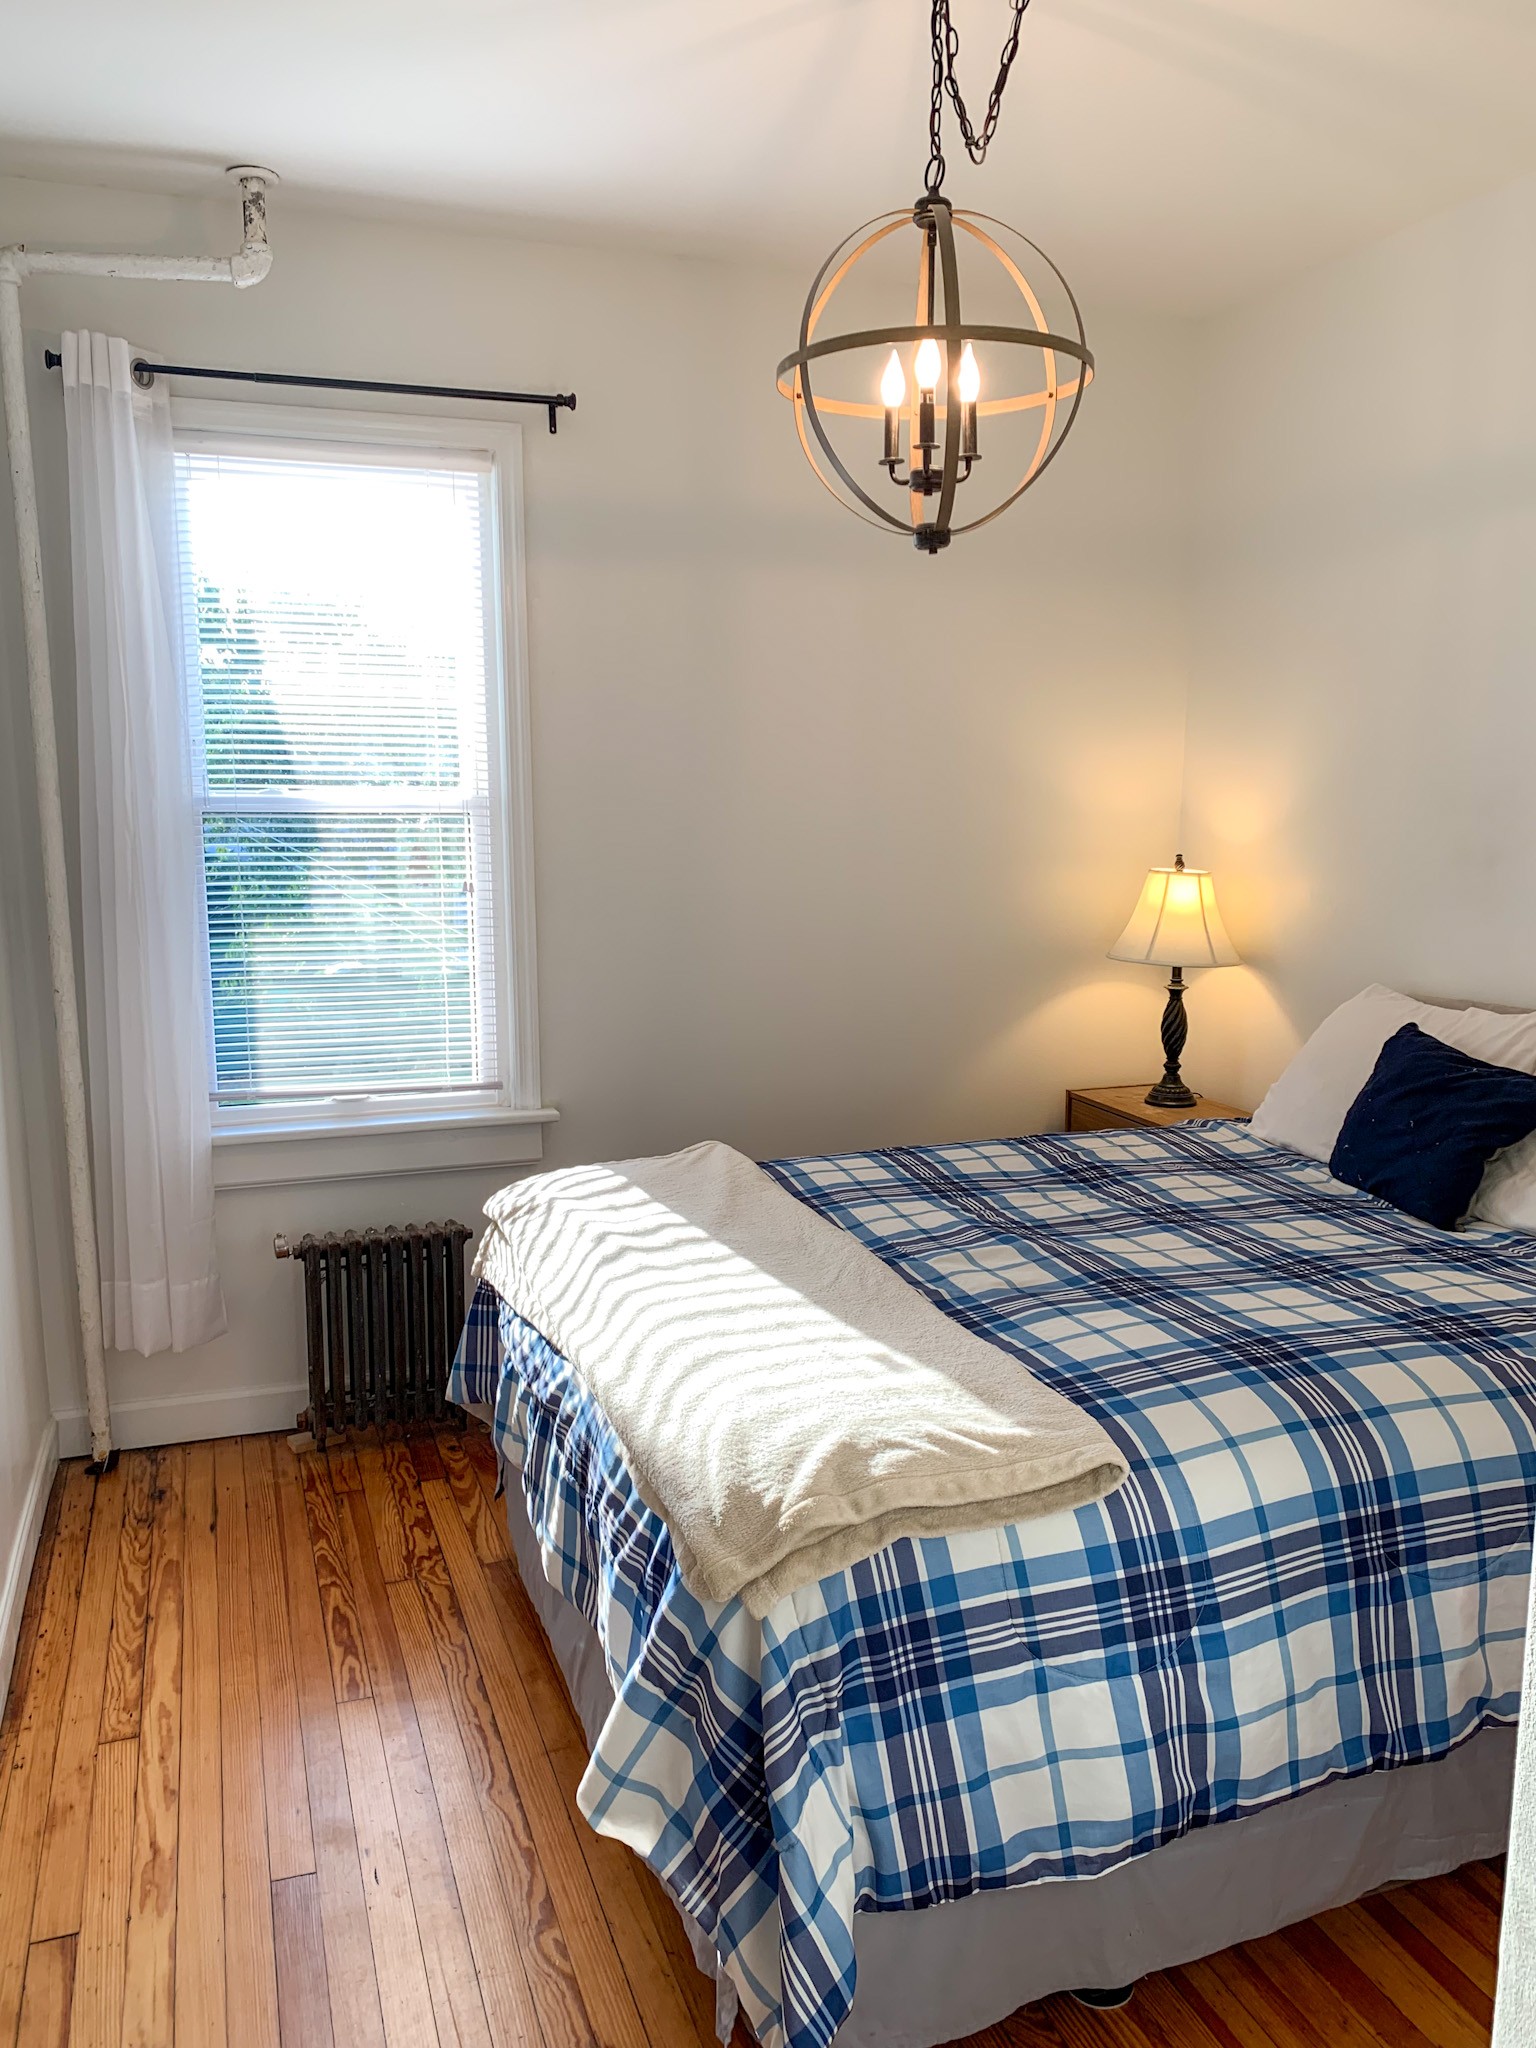
The room’s warm white walls have been retained, ensuring ease of transformation with future linen and furniture changes. This classic choice not only brightens the room but also creates the illusion of added space. Interestingly, this exact Pure White shade is used throughout our first floor, including the bathroom and kitchen. Yes, I did treat myself to a five-gallon bucket of this Sherwin Williams hue! To add visual interest, we’ve installed a striking chandelier that makes a bold statement.
Who needs multiple mini lights when you can have one show-stopping fixture? The ‘metals’ in the room – curtain rod, chandelier, and lamps – all feature oil-rubbed bronze accents, which not only complement our existing darker lamps but also tie in with the kitchen’s cabinet hardware. This thoughtful choice creates a sense of continuity throughout our home.
As we bask in the glow of our newly insulated, freshly painted, and re-framed master bedroom, we’re content to have saved some gorgeous pine trim for future creative endeavors – perhaps a show-stopping headboard someday?
Lessons Learned
In the aftermath of a comprehensive renovation that transformed our first floor from top to bottom, it’s only natural to take a moment to assess what elements proved successful and where we fell short. A candid evaluation will not only help us refine our design approach going forward but also provide valuable insights for anyone embarking on a similar project.
Time
It’s easy to be misinformed that this project was a swift undertaking. Unfortunately, it took us a year to complete. We might have finished in about seven months if not for an unexpected interruption – the global pandemic. As residents of New Jersey, we experienced the full force of the crisis in March 2020, just as we were installing essential fixtures like our bathroom vanity and lighting. Our plumber was a lifesaver, turning everything back on just a week before the shutdown.
Moreover, I (Noreen) fell gravely ill, forcing me to isolate for two weeks. We were incredibly fortunate that our home had enough space to accommodate my recovery.
Winter
If I had the chance to relive the experience, I would definitely start sooner – perhaps in April instead of October. The reason for this is simple: when you disconnect your electricity supply, it’s like being plunged into darkness. The sun sets relatively early here during the winter months, around 4:30 pm, which means working by the light of a solitary work lamp can be a real challenge. It was a frustrating and laborious process to say the least.
Moreover, I’m someone who enjoys snuggling up in bed after 7 pm during the colder seasons, rather than burning the midnight oil until well past 9 pm. However, if you’re looking to improve your property, that’s often what’s required.
Order Ahead
While I had attempted to schedule deliveries of fixtures and appliances ahead of time, some items still arrived with a delay. This was largely due to backorders and my own failure to stay proactive. The real challenge lay in finding a temporary home for these items before they were actually needed. It wouldn’t do to order everything too far in advance only to run out of space to store it all.
For instance, where does one stow a bathroom vanity or dishwasher before the corresponding room is ready? Constantly moving bulky boxes from place to place grew tiresome. Although we’ll revisit this experience before our next renovation project, for now, I’d advise planning orders well in advance to avoid similar frustrations.
Conclusion
As I wrap up the story of our first floor remodel, I’m raising a glass to the finish line. It’s been a wild ride, but we’ve finally solved the layout woes, freed the kitchen from its cramped confines, revived the bathroom, and given the master bedroom a stunning makeover that will be enjoyed for years to come.
If this tale has inspired you to take on your own renovation adventure – no matter how daunting it may seem – or motivated you to tackle smaller projects around your home, then we’ve succeeded in sharing our journey with purpose.